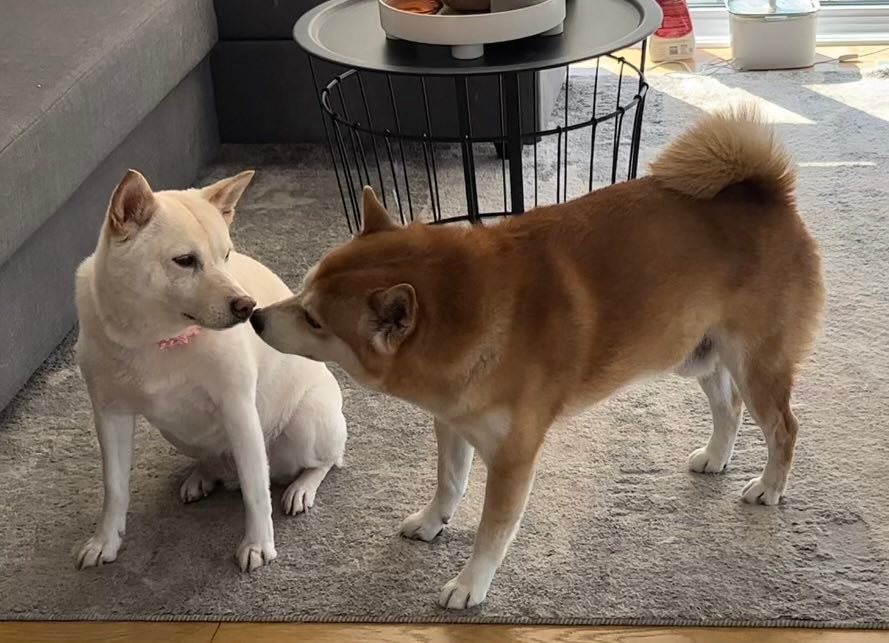
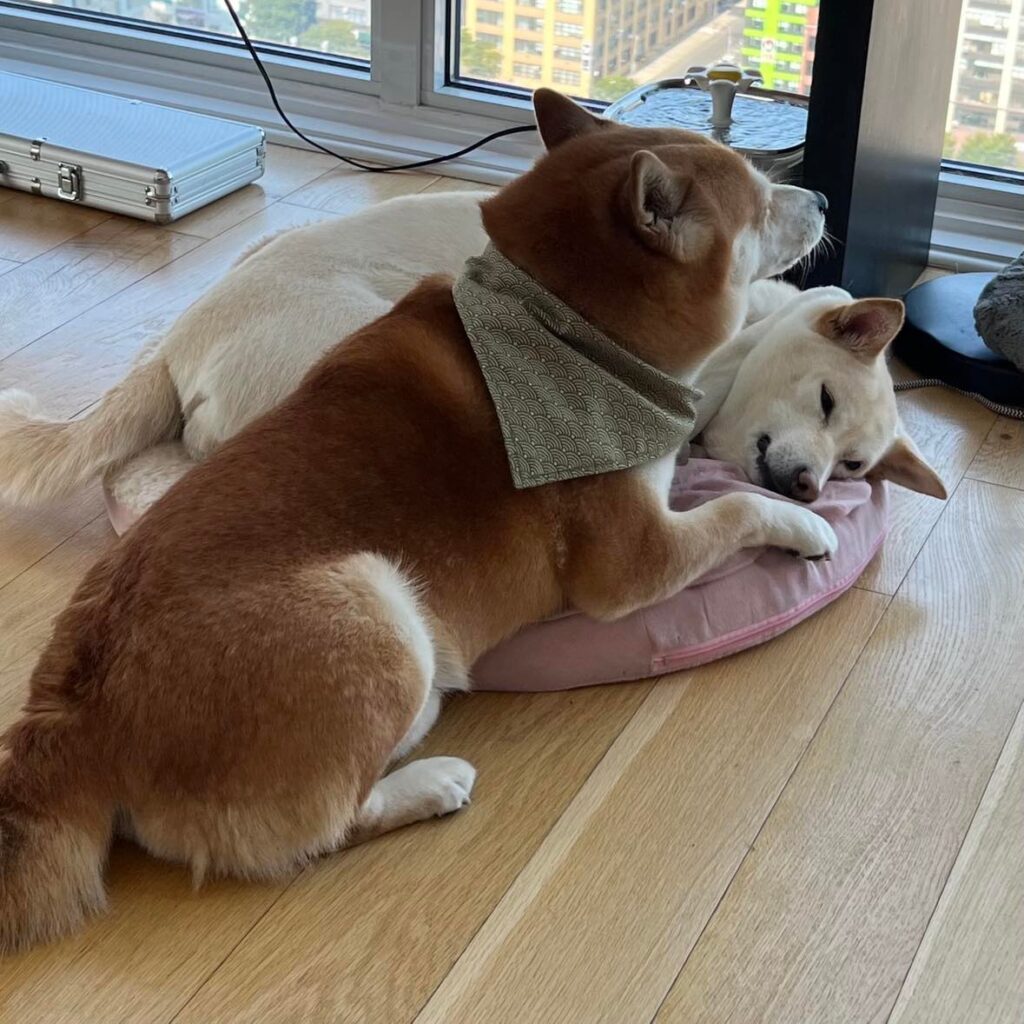
Miki (cream) and Luca (red) are the two Shiba Inu residents of Apartment 32B in Long Island City, Queens.
Miki and Luca recently celebrated their 8th anniversary together, and they commissioned me to design a custom doorbell cover for their apartment – just kidding, it was a surprise!
Whereas those projects heavily involved CNC routing, this project incorporated 3D printing with a some painting.
1. Designing the Doorbell Cover
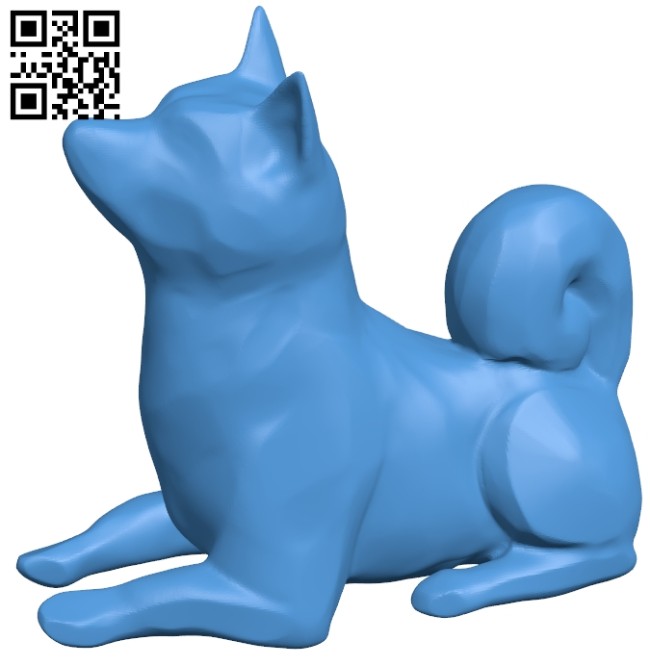
I had a good sense of what I wanted to make, and it required finding a nice 3D model of a Shiba Inu from online. Since I would scale down considerably the size of the model, details were not my focus.
Eventually, after a bit of searching, I found an abstract low-poly model of a sitting Shiba from ameede.net.
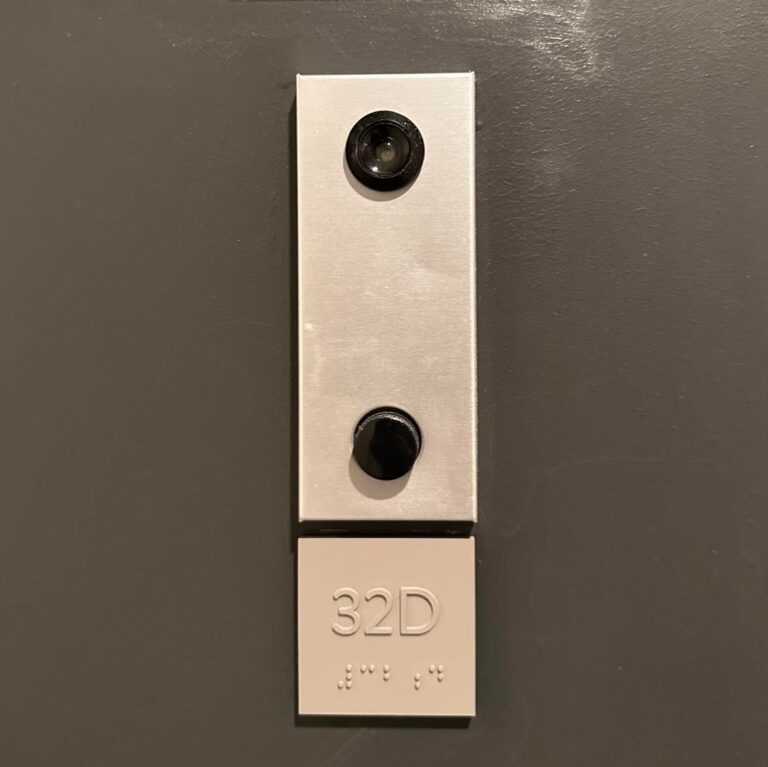
For the design of the doorbell cover proper, I used a pair of calipers to precisely measure the length, width, and depth of the doorbell, as I had previously done with the other doorbell cover projects.
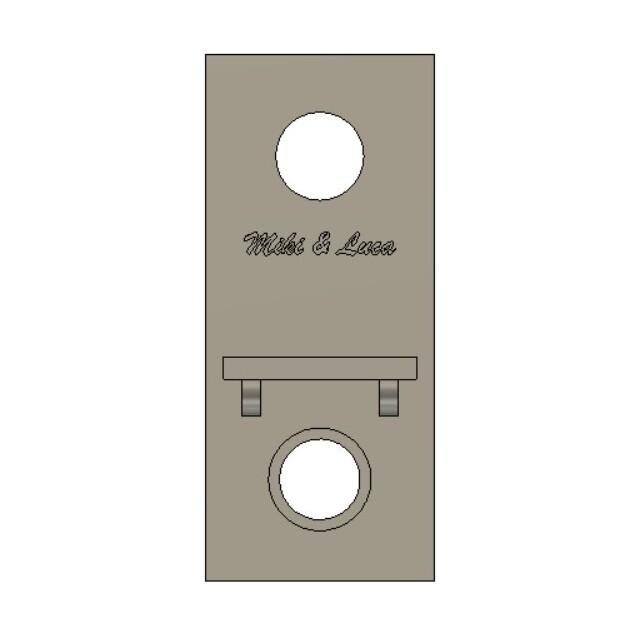
The dimensions of the doorbell were about 50 mm x 130 mm x 8 mm, and I added a couple of millimeters of buffer along each axis. The shell of the cover would be an additional 5 mm in thickness.
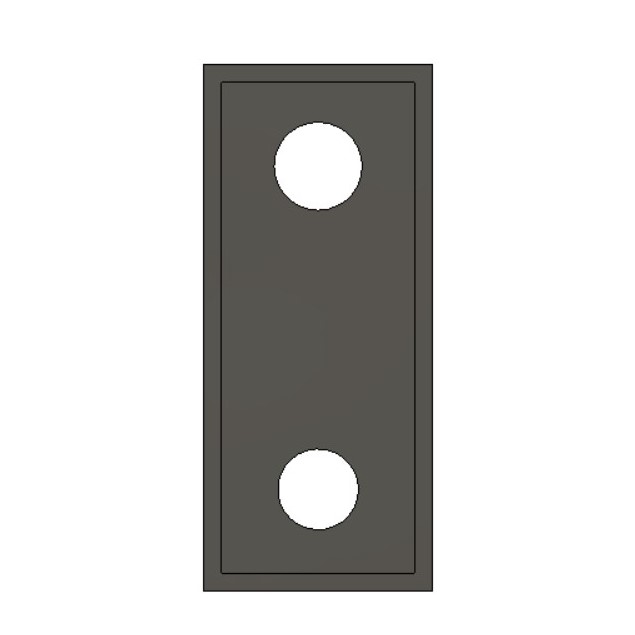
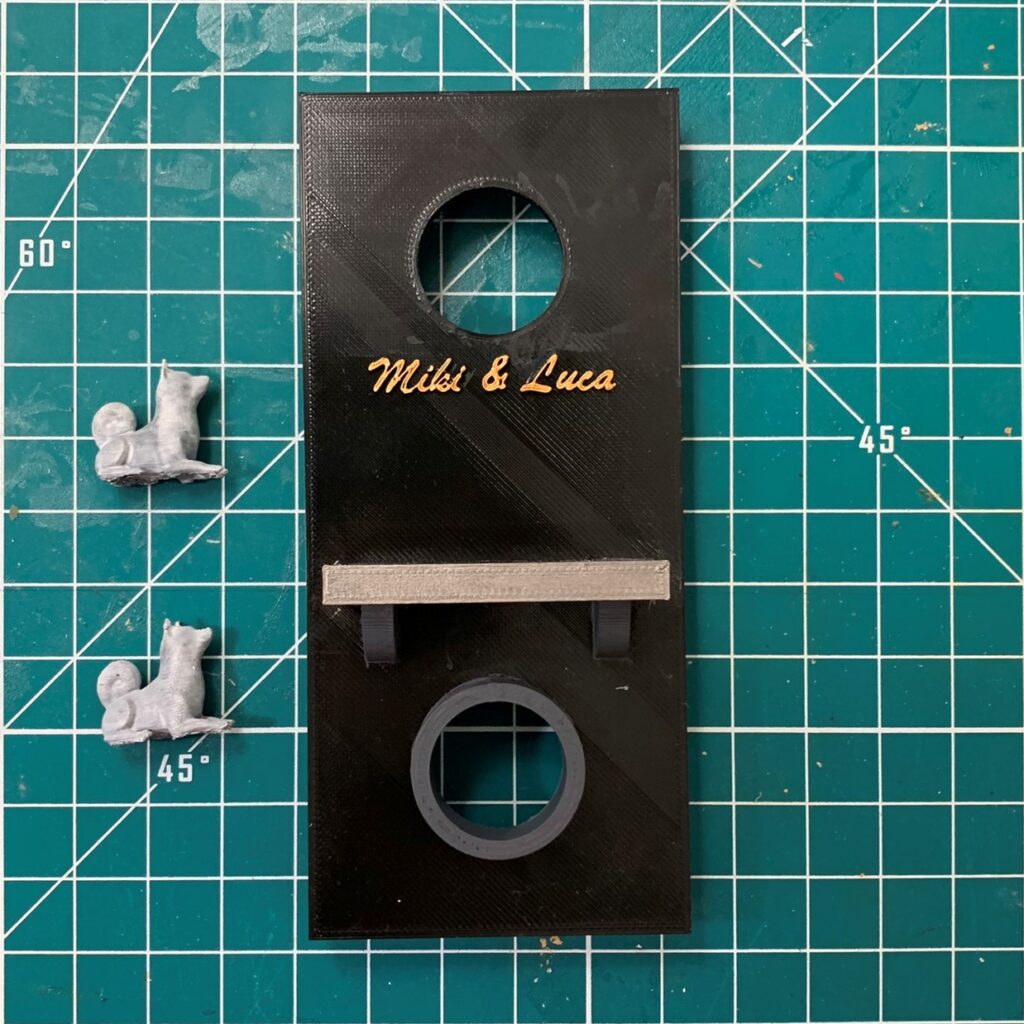
From the top and bottom of the doorbell cover, I measured out the center of the peephole and doorbell cover, respectively, as well as their diameters.
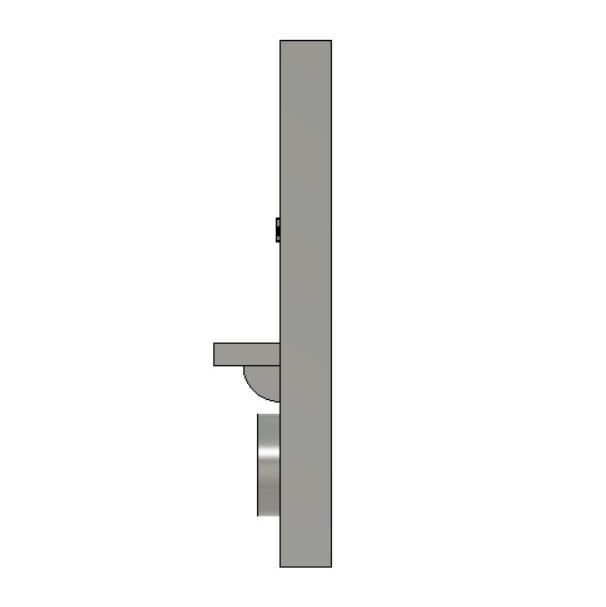
The doorbell button itself stood several millimeters proud from the doorbell, so I modeled in a surrounding ring, 3 mm in thickness, to constrain the button from shifting.
I decided not to add a ring to the peephole, as it would have been too cluttered for my taste.
Finally, I designed a simple 6 mm thick ledge with two quarter-circle braces (for aesthetic purposes).
2. 3D Printing the Doorbell Cover
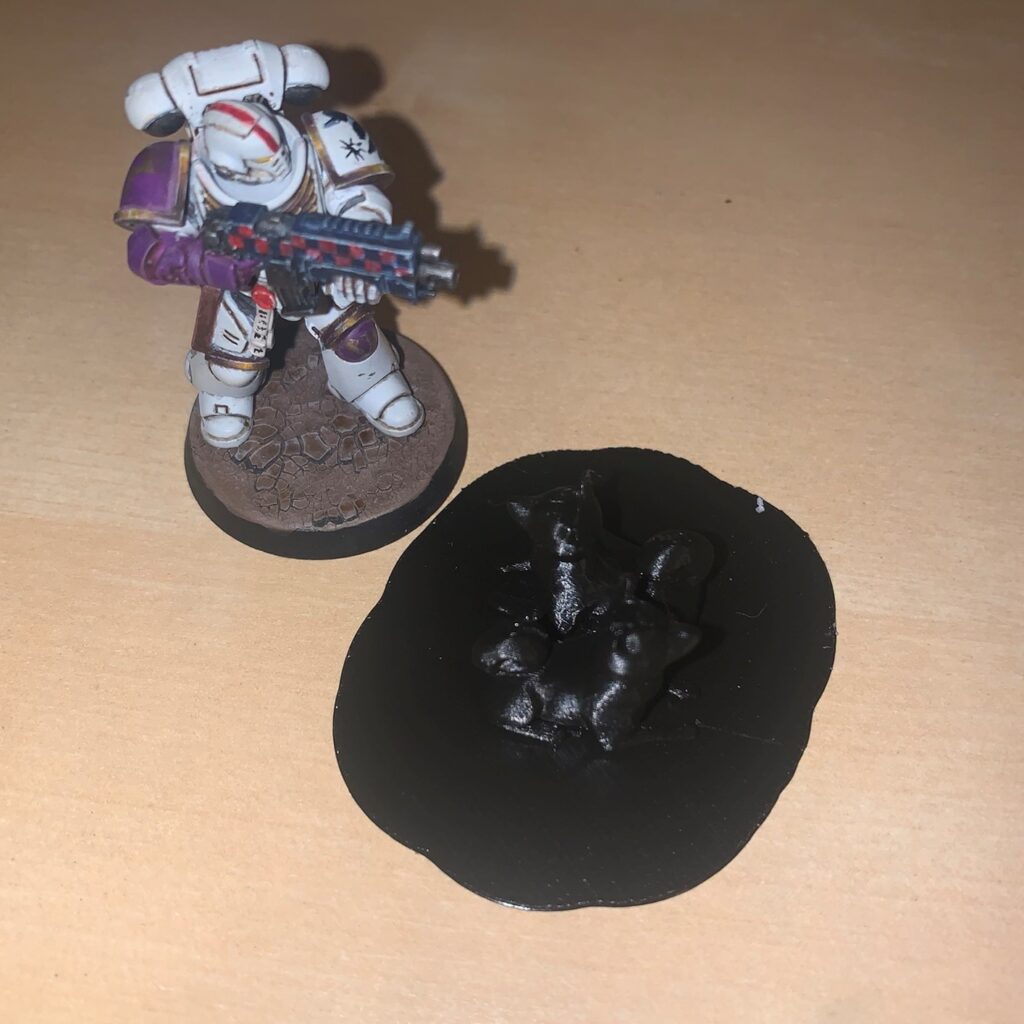
I used my Ender 3 printer to do the job using black PLA filament. I sized down the original model until the measured lengths and widths of the dogs fit well on the ledge. It only took a handful of minutes to print out a couple of small dog models, even when opting for a high-detail print at 0.1 mm per layer. The doorbell cover itself took a few hours to print, and the 3D printer handled it overnight without any issues.
You can see how small these dog figurines are in comparison with a 28 mm miniature from the Games Workshop 40k line. Overall, the dog prints came out fine, with the exception of the tips of their ears which were slightly jagged – however, this is hardly visible to anyone but the astute observer specifically looking for signs of docked ears in ~1:75 scale miniature dogs.
3. Painting and Assembling
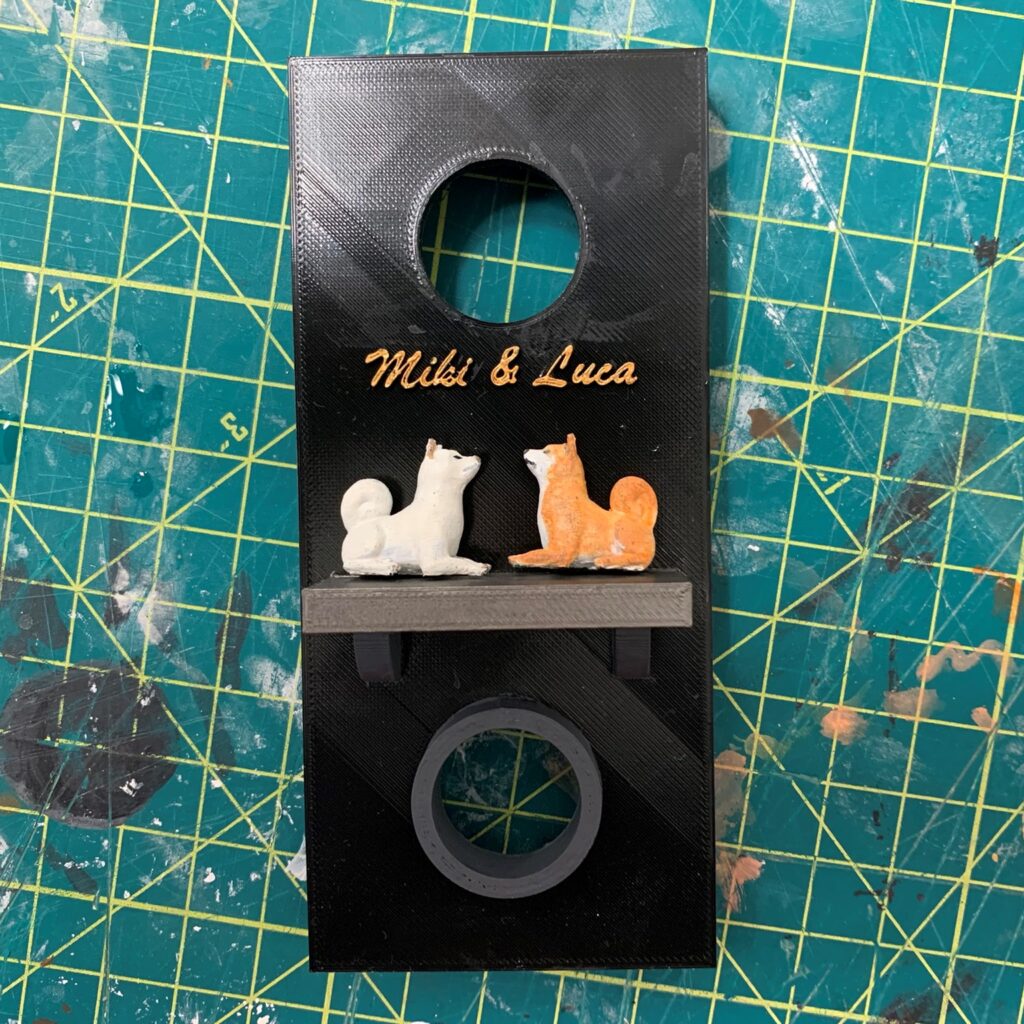
I first primed the two figurines with white, then used a variety of acrylic paints from Vallejo and Citadel for the coats. For Miki, I used primarily white paint with some tan blended in, while for Luca I used orange and yellow for his back fur to distinguish from the urajirobelly.
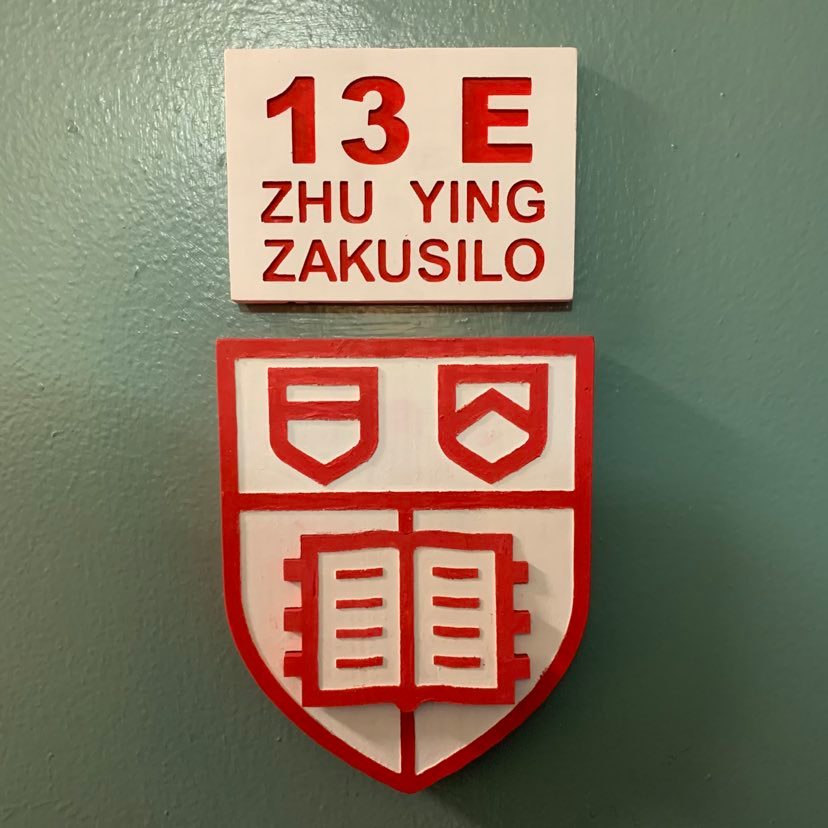
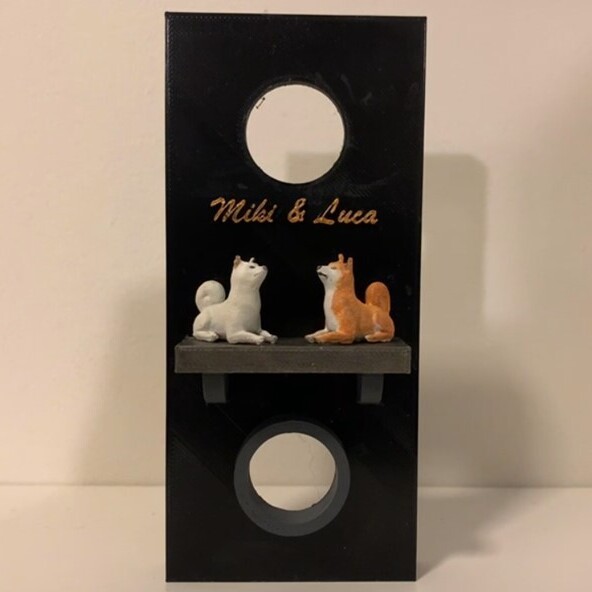
Most of the doorbell cover was left unpainted, but I primed the ledge, text, and buttonhole with black primer before painting in the final colors. I wanted to draw guests’ attention to the dogs themselves, so I chose muted gray tones (aside from the names of the apartment residents, which I painted in gold lettering). There weren’t too many details in the dog models, mainly because I printed them at such a small scale. Still, I managed to add in eyes, claws, and a small wry smile for each dog.
I used regular Loctite super glue to stick the dog figurines onto the ledge, and I angled them approximately 30 degrees from a direct side profile. A pair of command strips cut down to small strips was used to adhere the doorbell cover onto the door itself.
4. Final Results
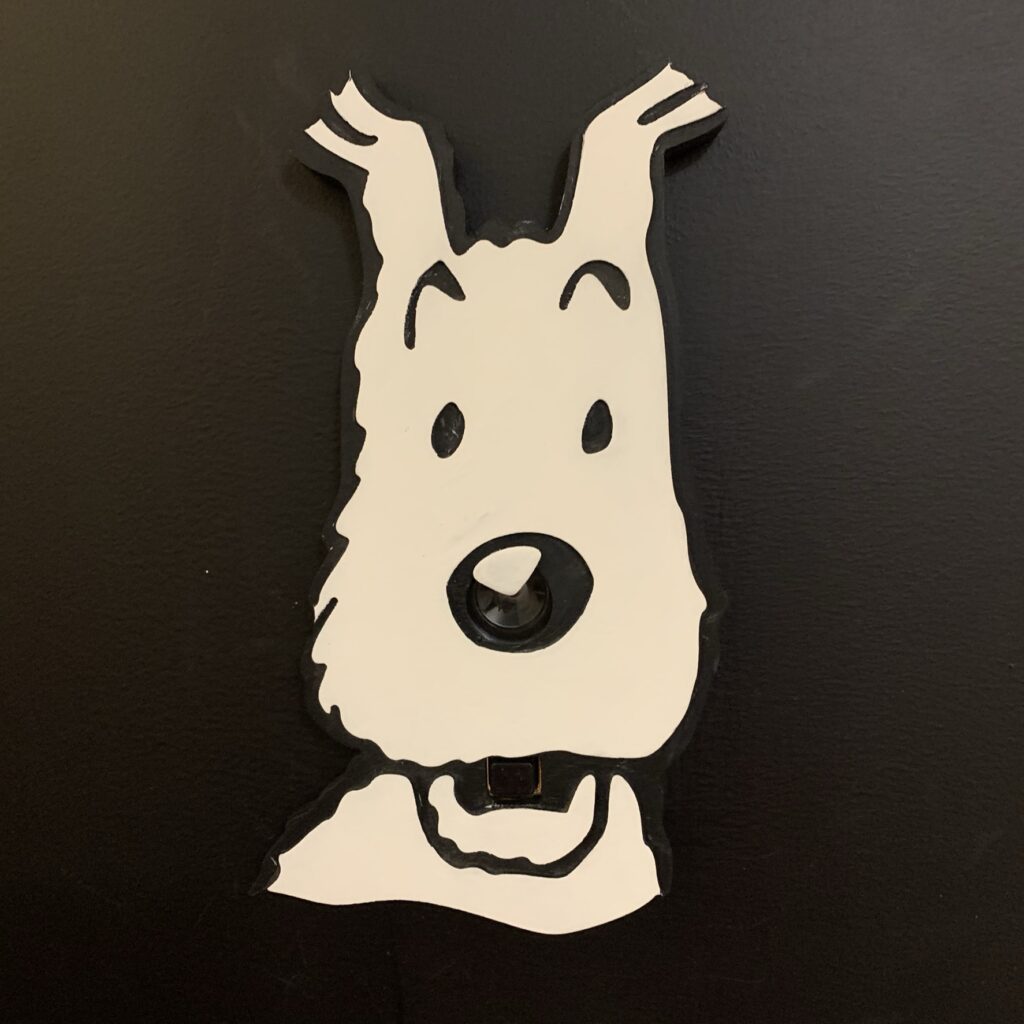
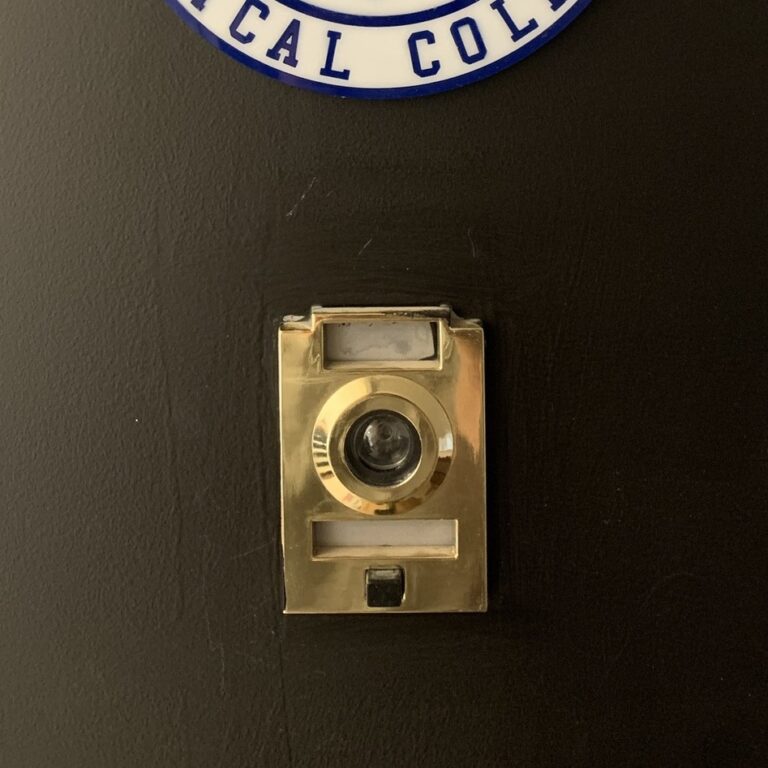
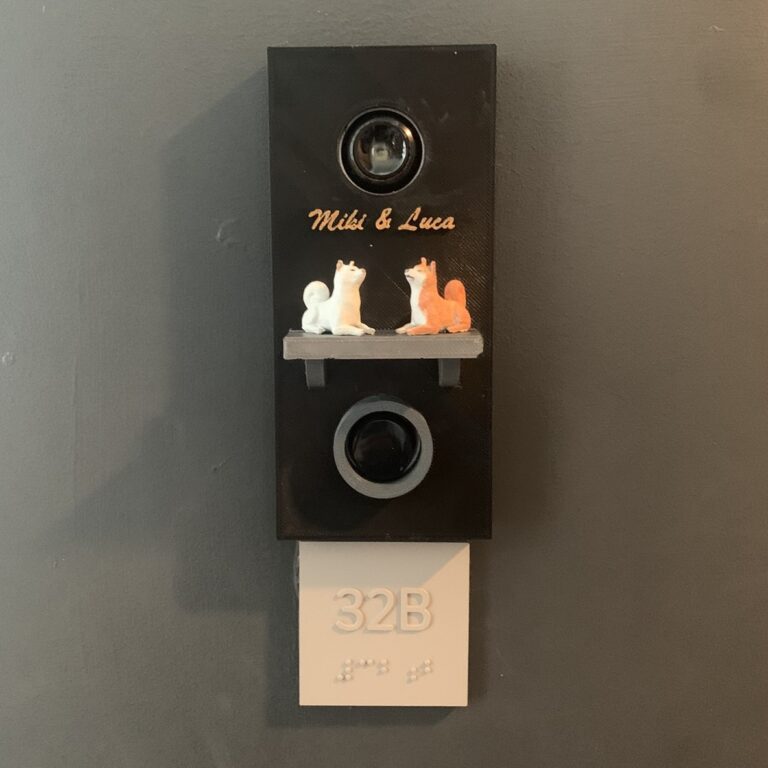
There is such a wide variety of doorbell designs found on apartment doors, and I thought it would be a fun juxtaposition to see the before and after of each of the three designs I made (6J and 32D are listed instead of 13E and 32B, in the first and third pictures, because I didn’t take great before images):
5. Project Files
Download link includes the .stl files of a shiba inu model as well as that of the doorbell cover.
With such a quick project, normally I would find many areas to improve upon, but most of the suggestions I can think of are superficial changes.
1. Painting: In real life, Miki’s fur has more hints of tan while Luca’s fur is less orange. If I had been more methodical, another coating or two of drybrush would help build up the fur layers.
2. Protection: I did not seal in the paint with any protective covering such as polyacrylic, and a small corner of paint was scraped off in transit.
3. Printing Orientation: 3D printing lines are visible in the completed doorbell cover in a 45 degree slant from top left to bottom right in the coronal plane. An easy fix would be to rotate the print on the bed by 45 degrees counterclockwise for horizontal lines.
4. Proper Naming: I recently found out, and the human companions in 32B did as well, that Luca is actually spelled Luka, as evidenced by his name on an old collar from the previous human companion. D’oh!
Reflection
Both Miki and Luca really appreciated the doorbell cover, and whenever they have guests over, they cannot help but bring it up to their friends!
Luca has told me that the 3D model makes him look too tubby, but Miki says the depiction is more or less accurate. For her part, Miki has said that since her body is longer than that of Luca, her corresponding 3D model should be as well.