
Project Timespan
One day – December 15th 2020
Inspiration
I hold some treasured memories made while at Penn. Anyone who has been to Penn’s campus and walked along Locust Walk will have seen the famous Covenant sculpture by Alexander Lieberman, a sculpture known colloquially on campus as the “Dueling Tampons.” One day, I happened to be browsing the web and came across a 3D model of this sculpture by Ben Bernstein on GrabCAD.
As the holidays were coming up, I thought making a tabletop display model would be a nice present for my brother, himself a Penn alum.
Project Overview
This project took only a few hours, not counting the 3D printing time, so there isn’t really much to expand upon!
1. Sculpture Background
2. Converting the Design
3. 3D Printing and CNC Routing
4. Final Results
1. Sculpture Background
During all my years on campus, walking, running, or biking past the sculpture on a daily basis, I had no idea of who, when, or why this sculpture was created. But here is the backstory:
In the 1960s, the University of Pennsylvania began construction of a “superblock” of dormitories from 38th to 40th street that would eventually become Rodin, Harrison, and Harnwell Houses. At the time, a piece of legislation entitled the “One Percent of Art” was in place, requiring 1% of construction costs to be used for purchase of public art for display. Therefore, with the development of these campus buildings, Penn commissioned the Ukrainian-American Alexander Liberman for a sculpture overseeing Locust Walk.
Standing 50 feet tall and constructed of iron painted over with red enamel, the work of art was entitled Covenant, a term that many students found ironic given how the University had obtained the land – potentially displaced many long-time West Philly residents.
In the years since it was first installed in 1975, the sculpture has since obtained a new nickname, “Duelling Tampons,” for obvious reasons. I personally see the word “ART” written out by the sculpture when viewed from different angles, though I am not sure if this was intended by the artist.
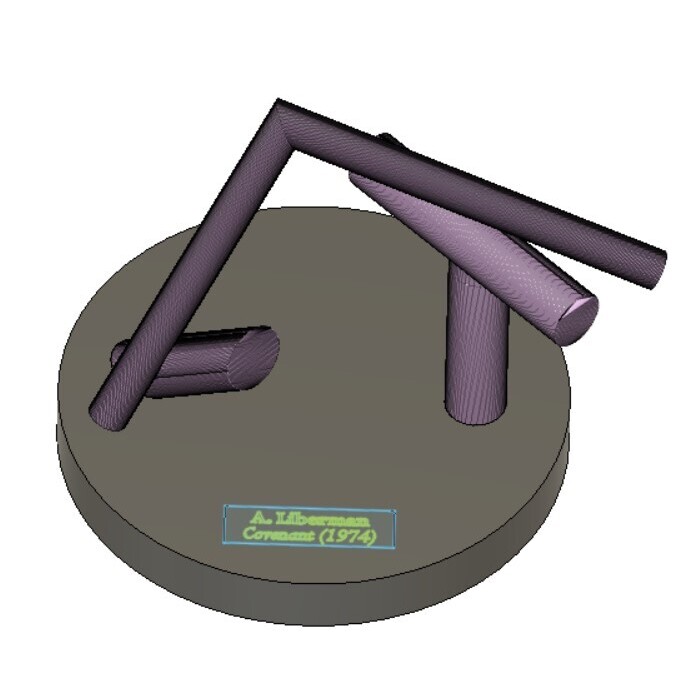
2. Converting the Design
The original .stl file incorporated a thin base that I opted not to retain, as I wanted to set the sculpture atop a wooden base instead. All it took was a few modifications in Fusion 360. I also modeled the design of the base in Fusion 360 as well, using the thickness (3/4″) of some scrap maple wood I had on hand.
I scaled the model so it nicely fit a base that I machined to 6″ in diameter. I added in an informational plate with the name of the artist, title of the sculpture, and year of completion.
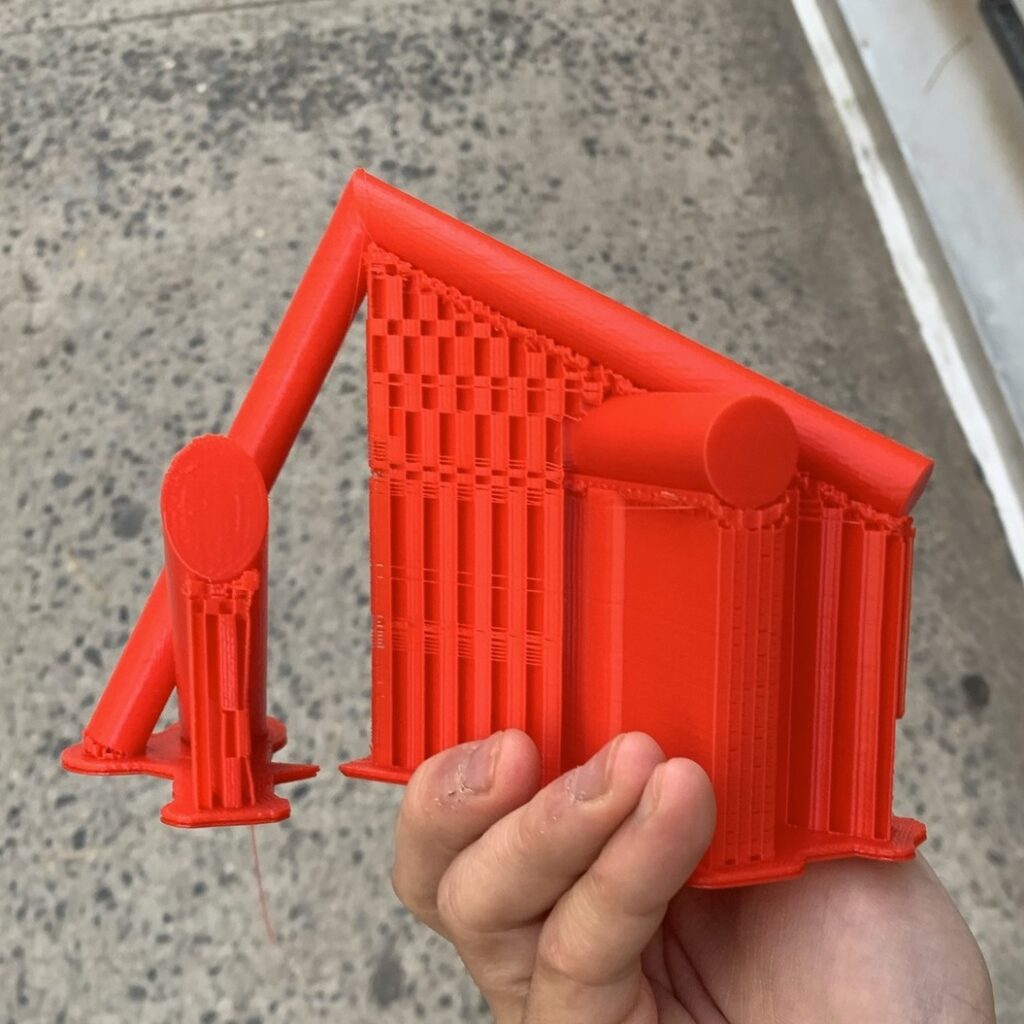
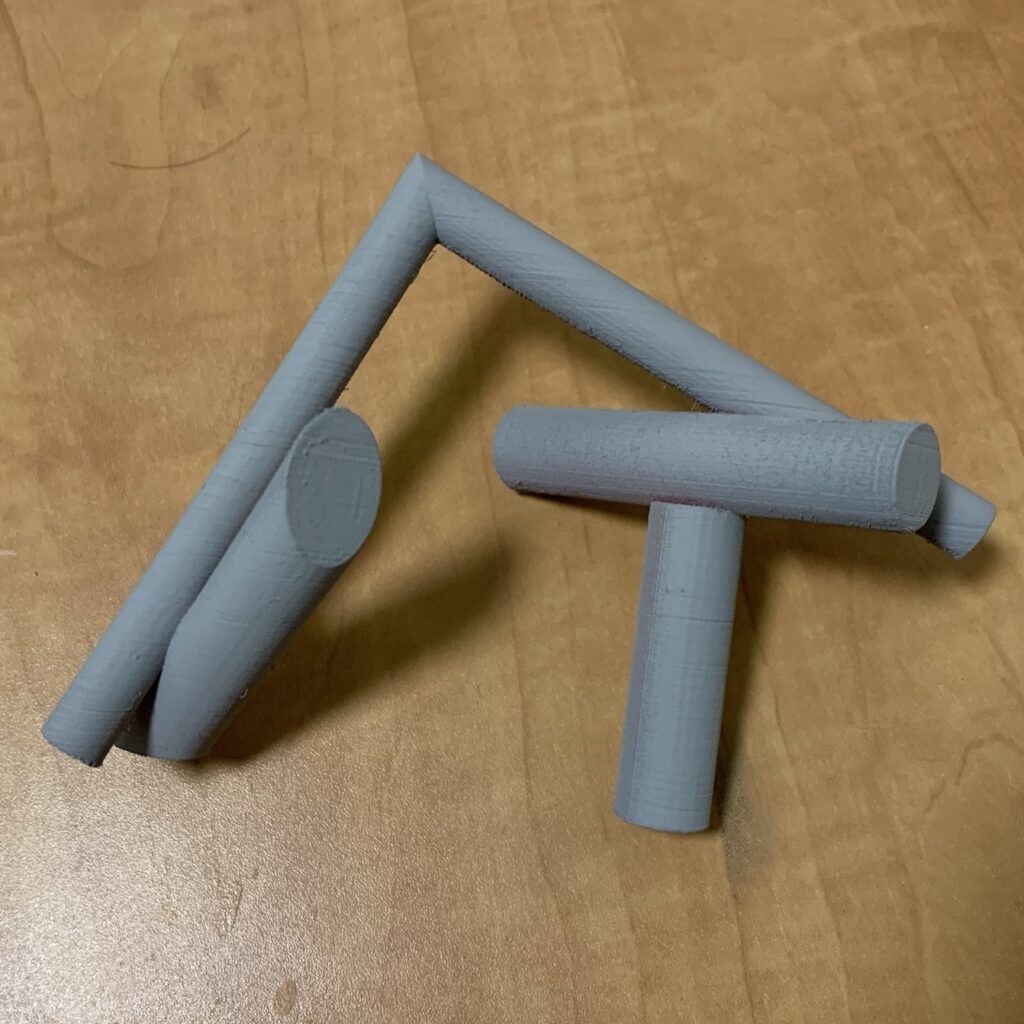
3. 3D Printing and CNC Routing
I 3D printed the sculpture at the school library. There was red PLA filament available, but I felt that the color was too muted in comparison to the vibrant red of the actual sculpture. So, I took the long way around – I primed the 3D print, then painted it bright red, then sealed it with a few coats of spray polyacrylic.
CNC routing was a more straightforward process, as I used a small ball nose bit to route out the recesses for the informational plate and the two circular holes where the statue contacted the ground. Then, a large end mill bit was used to route out the base. An engraving V bit was used for the plate – I used 1/8″ spare bubinga for this purpose, which added some color contrast with the maple.
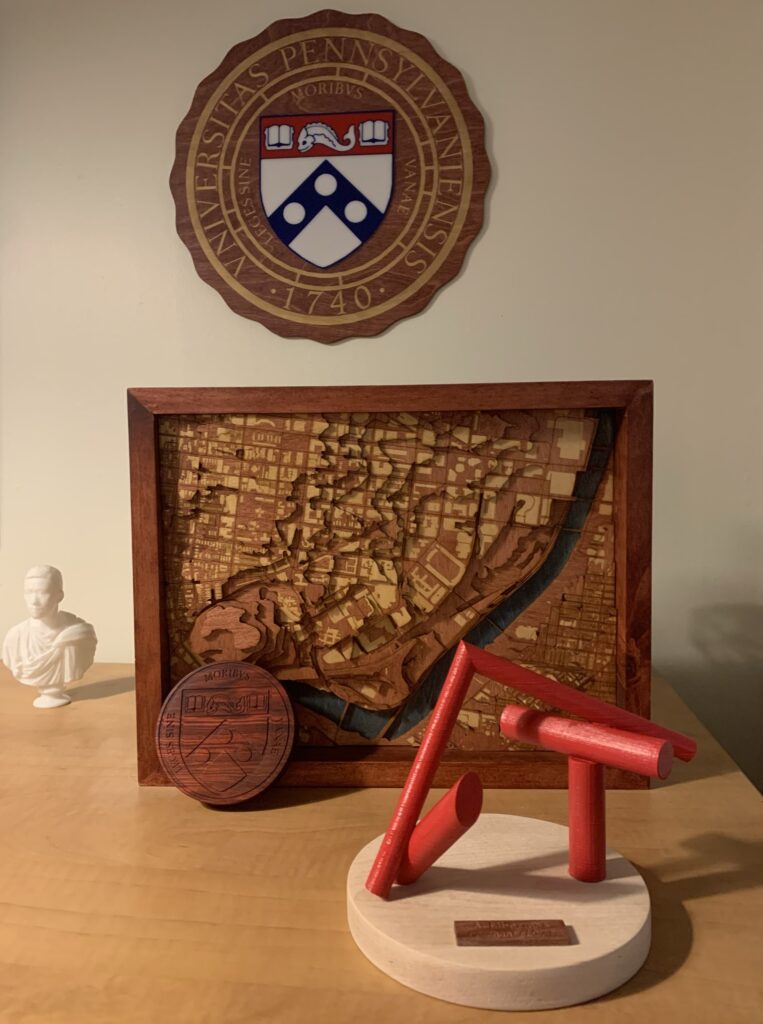
4. Final Results
Although I did not have the foresight to take proper final images of the project before I sent it out to my brother, I did snap this shot of the model sitting on my bedroom dresser, along with some other projects I had previously made.
Also present in this photo is a laser cut seal of the University of Pennsylvania, a 3D printed self-portrait bust in the Classical style, a laser cut topographic map of University City, and a CNC routed Penn coaster. Surprisingly, I have written up a post on each of these projects!
Lessons Learned & Improvements
For a one-day project, the final result was quite successful, though in the nearly two years since project completion, I have many ideas for improvement:
1. 3D PLA Filament: Choosing a better, brighter red filament would obviate the need to prime, sand, and paint the print.
2. Base Thickness: While I only had 3/4″ maple on hand, I think a thinner woodstock of 3/8″ to 1/2″ would look better for display purposes.
3. Finishing: The end result is rougher than I would like in that filament layers are readily apparent. This issue can be solved either through printing with smaller layer height or sanding down the lines after 3D printing.
4. Simplification: I did like the look of the informational plate at first, but now I would tend towards abstraction by removing the plate altogether.
5. Complication: On the other hand, it would be neat to make an accurate miniature model of Locust Walk, including the serpentine paved brick, grass and trees, lampposts, benches, and even pedestrians. Not feasible in one day, of course!
6. Materials: The simplicity of geometric shapes lends itself to handbuilding the sculpture in clay or creating plaster moulds for casting in concrete or clay slip.
Reflection
It’s nice to mix in the quick and easy one-off, one-day projects once in a while. Perhaps I should consider printing other well-known sculptures on Penn’s campus, such as the LOVE sculpture or the Button?