Project Timespan
2017 – 2018, on and off
Inspiration
Logos were a logical project to tackle with the laser cutter, considering that they usually are simple and two-dimensional, their representations are freely found online, and they evoke strong emotional connections – a perfect gift!
Project Materials
– 1/8″ or 1/4″ acrylic sheet
– 1/8″ or 1/4″ Baltic birch plywood
– wood stain
– wood glue / super glue
Project Design
Creation of logos is probably one of the easiest laser cutting projects. All I had to do was to find high quality PNG/JPEG or, better yet, vector-format SVG files from the internet. An example of such an image is the featured image of the clog, above. Using a tool such as convertio.co, I was able to obtain usable SVG files from which I could then import into the design program of interest. The remainder of the work involved scaling the design and cleaning up lines from the conversion process.
One process I did use was to reverse the image design such that the laser cutter would vector etch the design out from the back side. I would also use two lower power, higher speed passes compared with one higher power, lower speed pass to minimize the kerf width. I found that the combination of these two methods allowed for the tightest fitting pieces, an essential quality for an inlay project.
For a select few of these designs, I opted to used stained Baltic birch plywood. I then would raster etch the regions corresponding to the light areas to reveal a new, “unfinished” surface of birch.
I used a backing piece out of either 1/4″ acrylic or birch plywood to serve as the substrate upon which I glued the pieces of the design. I used a super glue adhesive to stick the pieces down, and I found it was easier to first glue down the pieces before peeling the paper protective layer. Extremely satisfying!


Project Results
First up are the logos that are smaller-scale, roughly 6″ by 6″. BAAFS is an abbreviation for Beijing Academy of Agriculture and Forestry Sciences (I confused my colleague’s alma mater with his former work place, whoops! He still appreciated the gift, though!).


Number of pieces per small-scale logo, including back piece:
BAAFS – 18
Binghamton University – 10
Johns Hopkins University – 31
University of Connecticut – 44
University of Michigan – 16
Penn State University – 1
The next logos are those that are large-scale, roughly 14″ by 14″. Additionally, I created two large-scale full acrylic Penn designs as well as a large-scale Penn shield, but I do not have good images of these on hand.


Number of pieces per large-scale logo, including back piece:
Celtic Football Club – 103
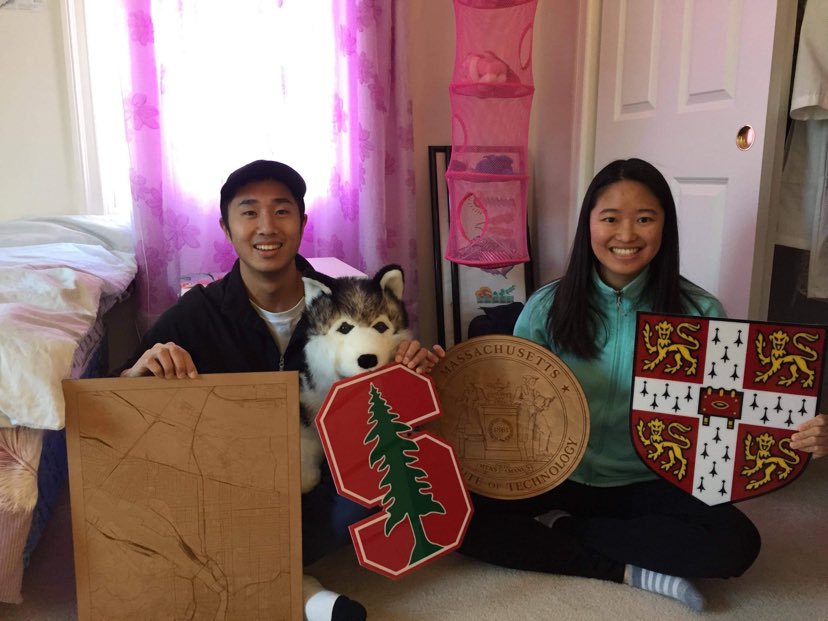
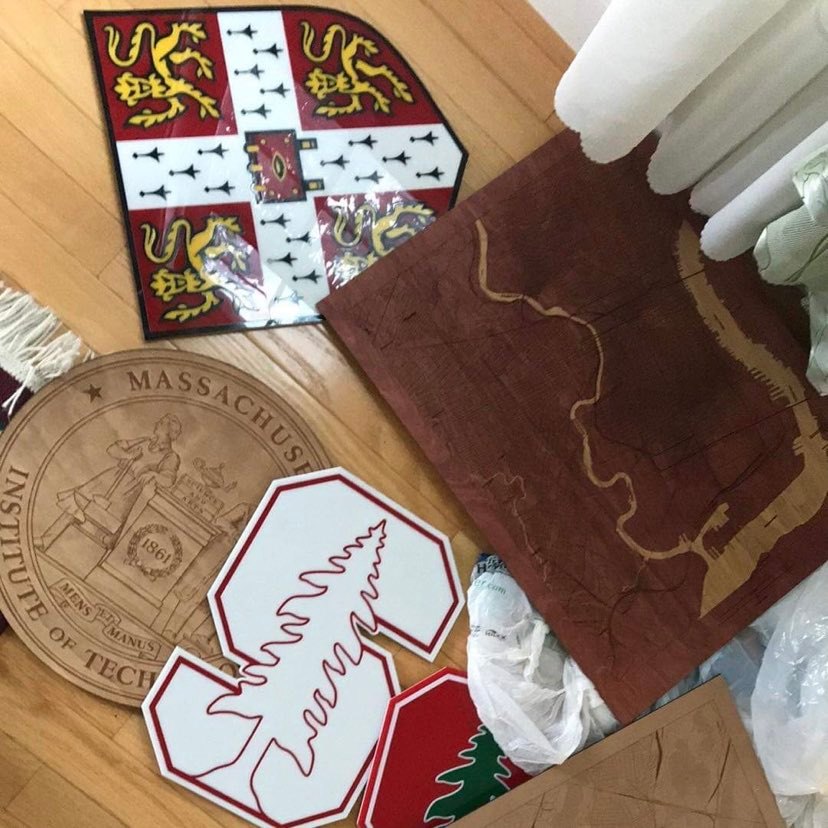
University of Cambridge – 102
Massachusetts Institute of Technology – 1
Cornell University – 2
Cornell University (Shield) – 52
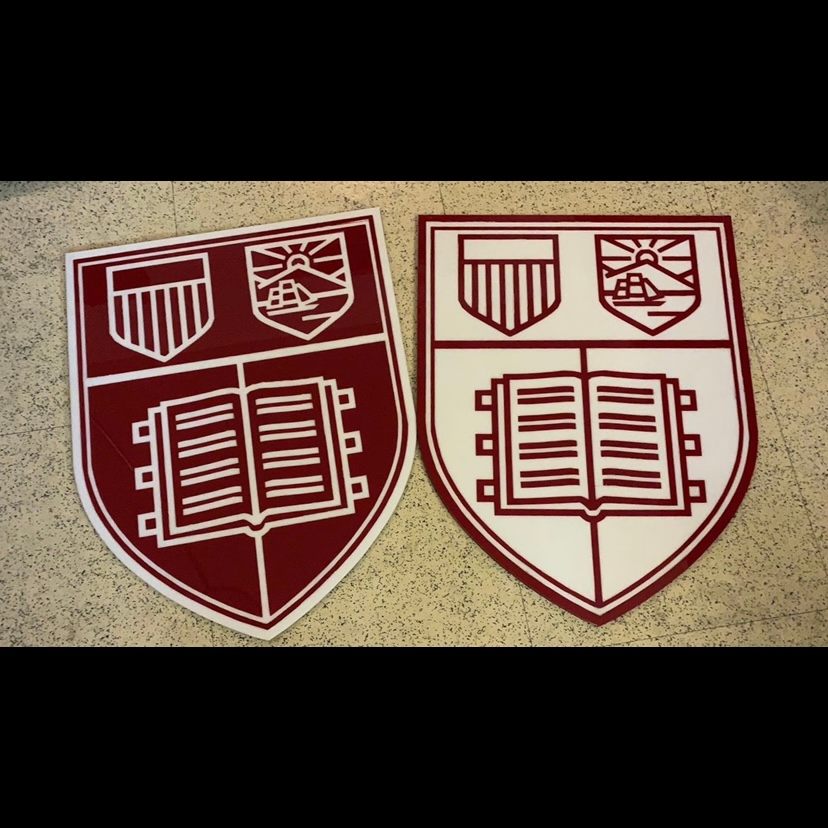
University of Pennsylvania – 23
University of Pennsylvania (full acrylic, not shown) – 106
University of Pennsylvania (Shield, not shown) – 23
Stanford University – 7
Dang, lots of letters = lots of pieces! I might have miscounted on the more complex ones, but what’s one logo piece more or less? The reason that the Cornell University circular design only consists of two pieces was that I first etched a white acrylic sheet, then removed the paper protective cover from the regions corresponding to red. Then, spray paint was used to color those regions before I peeled off the paper cover from the white regions.
Lessons Learned & Improvements
While I did create a number of different logos of schools and sports teams, not shown in this post are large-scale logos of the University of Chicago Pritzker School of Medicine, Hadassah School of Medicine, and the Philadelphia 76ers, designs of which I forgot to take an image before gifting away to others! That being said, I should have spent an extra day or two to recreate logos of the Green Bay Packers and Milwaukee Bucks!
Laser cutting creates a sharp, polished final product, and these logos really look splendid in person. My favorite ones incorporate both acrylic and Baltic birch, although the all-acrylic University of Cambridge logo was an amazing process to piece together. To minimize acrylic waste, for a few of the designs I reversed the colors to make multiple versions (such as that of the University of Connecticut design). Although these logos may not necessarily be the “correct” colors by way of foreground / background arrangement, they nevertheless bear similar aesthetic qualities.
Of course, there are always a few improvements that I can make to this collection of mini-projects:
1. Materials: Creating a logo with Baltic birch plywood, first cutting out all the pieces and then staining the plywood to each respective color. I felt limited at the time due to budget, but I prefer the warmth of wood displays on the wall.
2. Colors: Alternatively, instead of staining the plywood, painting would also create a strong, clean effect.
3. 2.5 Dimensional Designs: It would be interesting to explore raising certain areas of the logos to create a depth effect. To some extent, I did this with the mixed acrylic / Baltic birch logos, as the acrylic sheet sits proud of the birch plywood background.
4. Originality: Creation of custom logos by my own hand to practice digital design!
Reflection
Logos are omnipresent in today’s society, and one would be hard-pressed to find a vehicle, an appliance, a piece of apparel, or even a pencil without branding upon it. However, there is a certain nostalgia that arises within when one sees the emblem of one’s alma mater adorning a sweater or upon the hat of a passerby; I felt great satisfaction in lasering logos for my colleagues and friends, and I hope that with each physical gift came the deeply personal nostalgia of cherish memories.