
Project Timespan
2018, and revisited in April 2025
Inspiration
Back in 2018, I made many different Hive sets in all colors and styles, documented in this post. A couple of the sets were magnetized, and I had 3D-printed a border for one set that used command strips to attach to the refrigerator door. While it worked, more or less, it was finicky to install and wasn’t the best fit from an aesthetic perspective. Fast forward to 2025, and I now found myself in a much larger (albeit still cozy) apartment. With a space for decorating available, I thought it would be perfect to revisit this idea and make a better version of a magnetic board.
Materials
Hive pieces:
> 1/8″ baltic birch, 1/4″ acrylic, 1/8″ acrylic, 1/4″ magnets
Hive Board:
> PLA filament
> A lot of super glue
> Beeswax/mineral oil finish
> Command strips
Project Overview
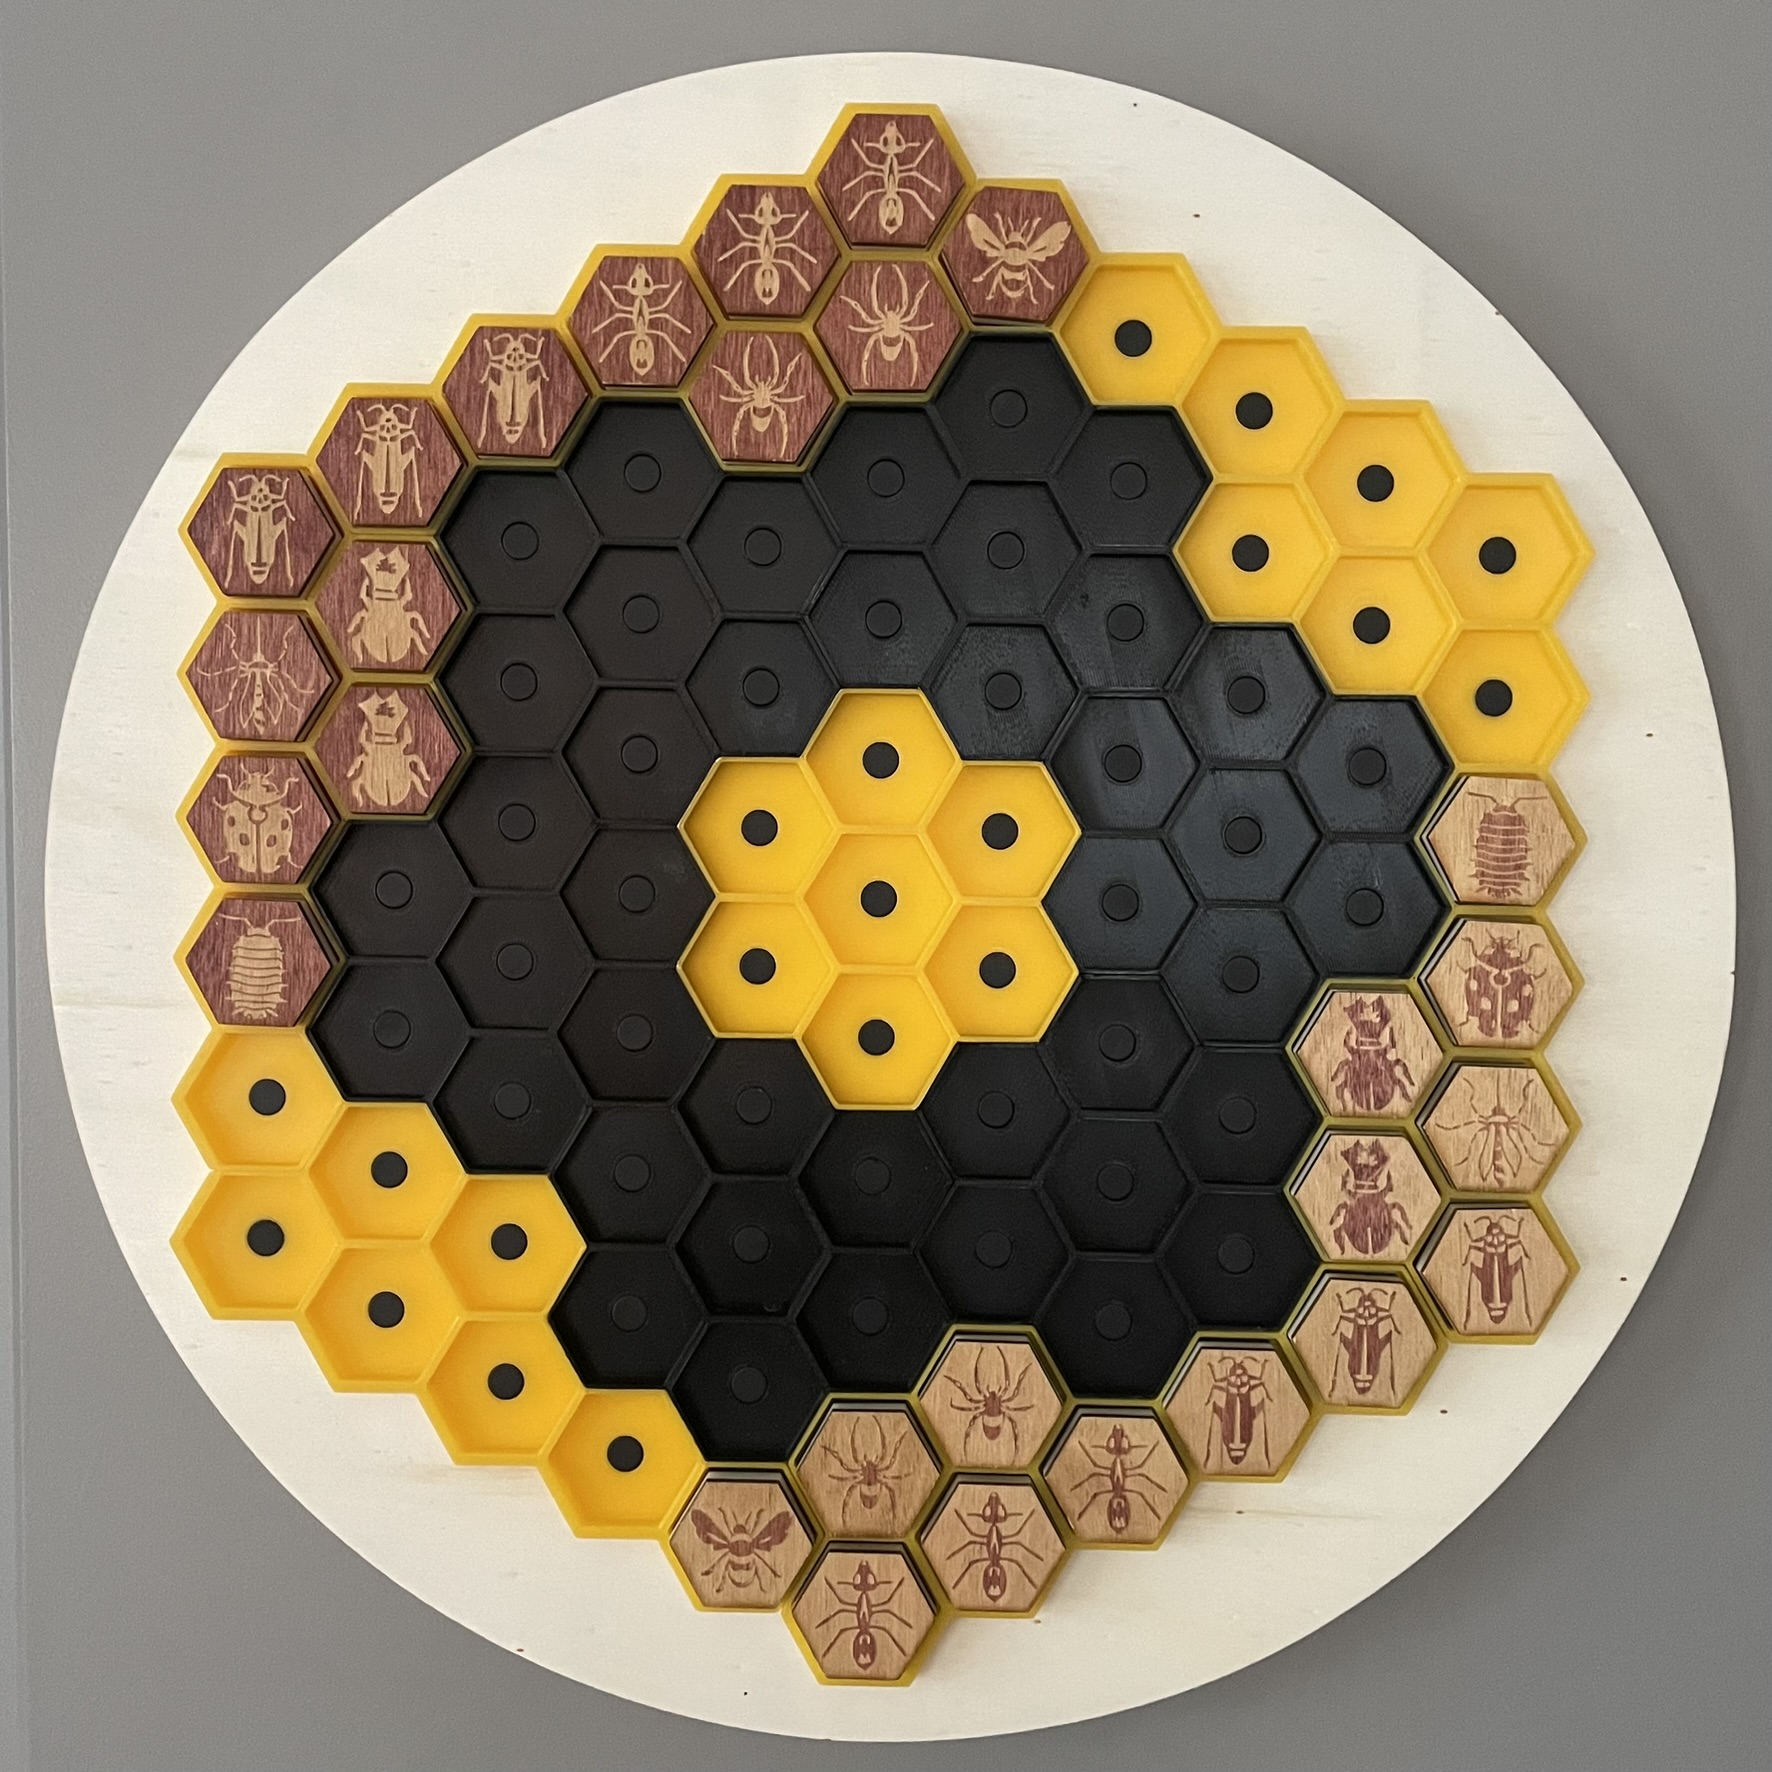
In a way, the game of Hive doesn’t actually require a border at all. Hive begins as an empty slate with the pieces themselves forming the contents of an ever-shifting, ever-growing “board.” That being said, from a practical standpoint, after magnetizing 28 pieces for the game, I realized that the magnetic strength of each piece would make playability challenging – gravity would overcome the static friction of the magnetic pieces, and they would slide and tumble to the floor. The best way to address this concern would be to create hexes to surround each piece, such that when playing or stacking pieces, the gravitational force would allow the piece to rest on the bottom ledge of each bordering hex.
The terminology throughout this post may be somewhat confusing, but I will attempt to stay consistent. Hive refers to the game itself, whereas a hex is the hexagonal area a Hive piece sits upon. The Hive border refers to the 3D-printed pieces surrounding each piece, while the Hive board includes the wooden circle upon which the hive border is mounted.
1. Designing the Hive Border
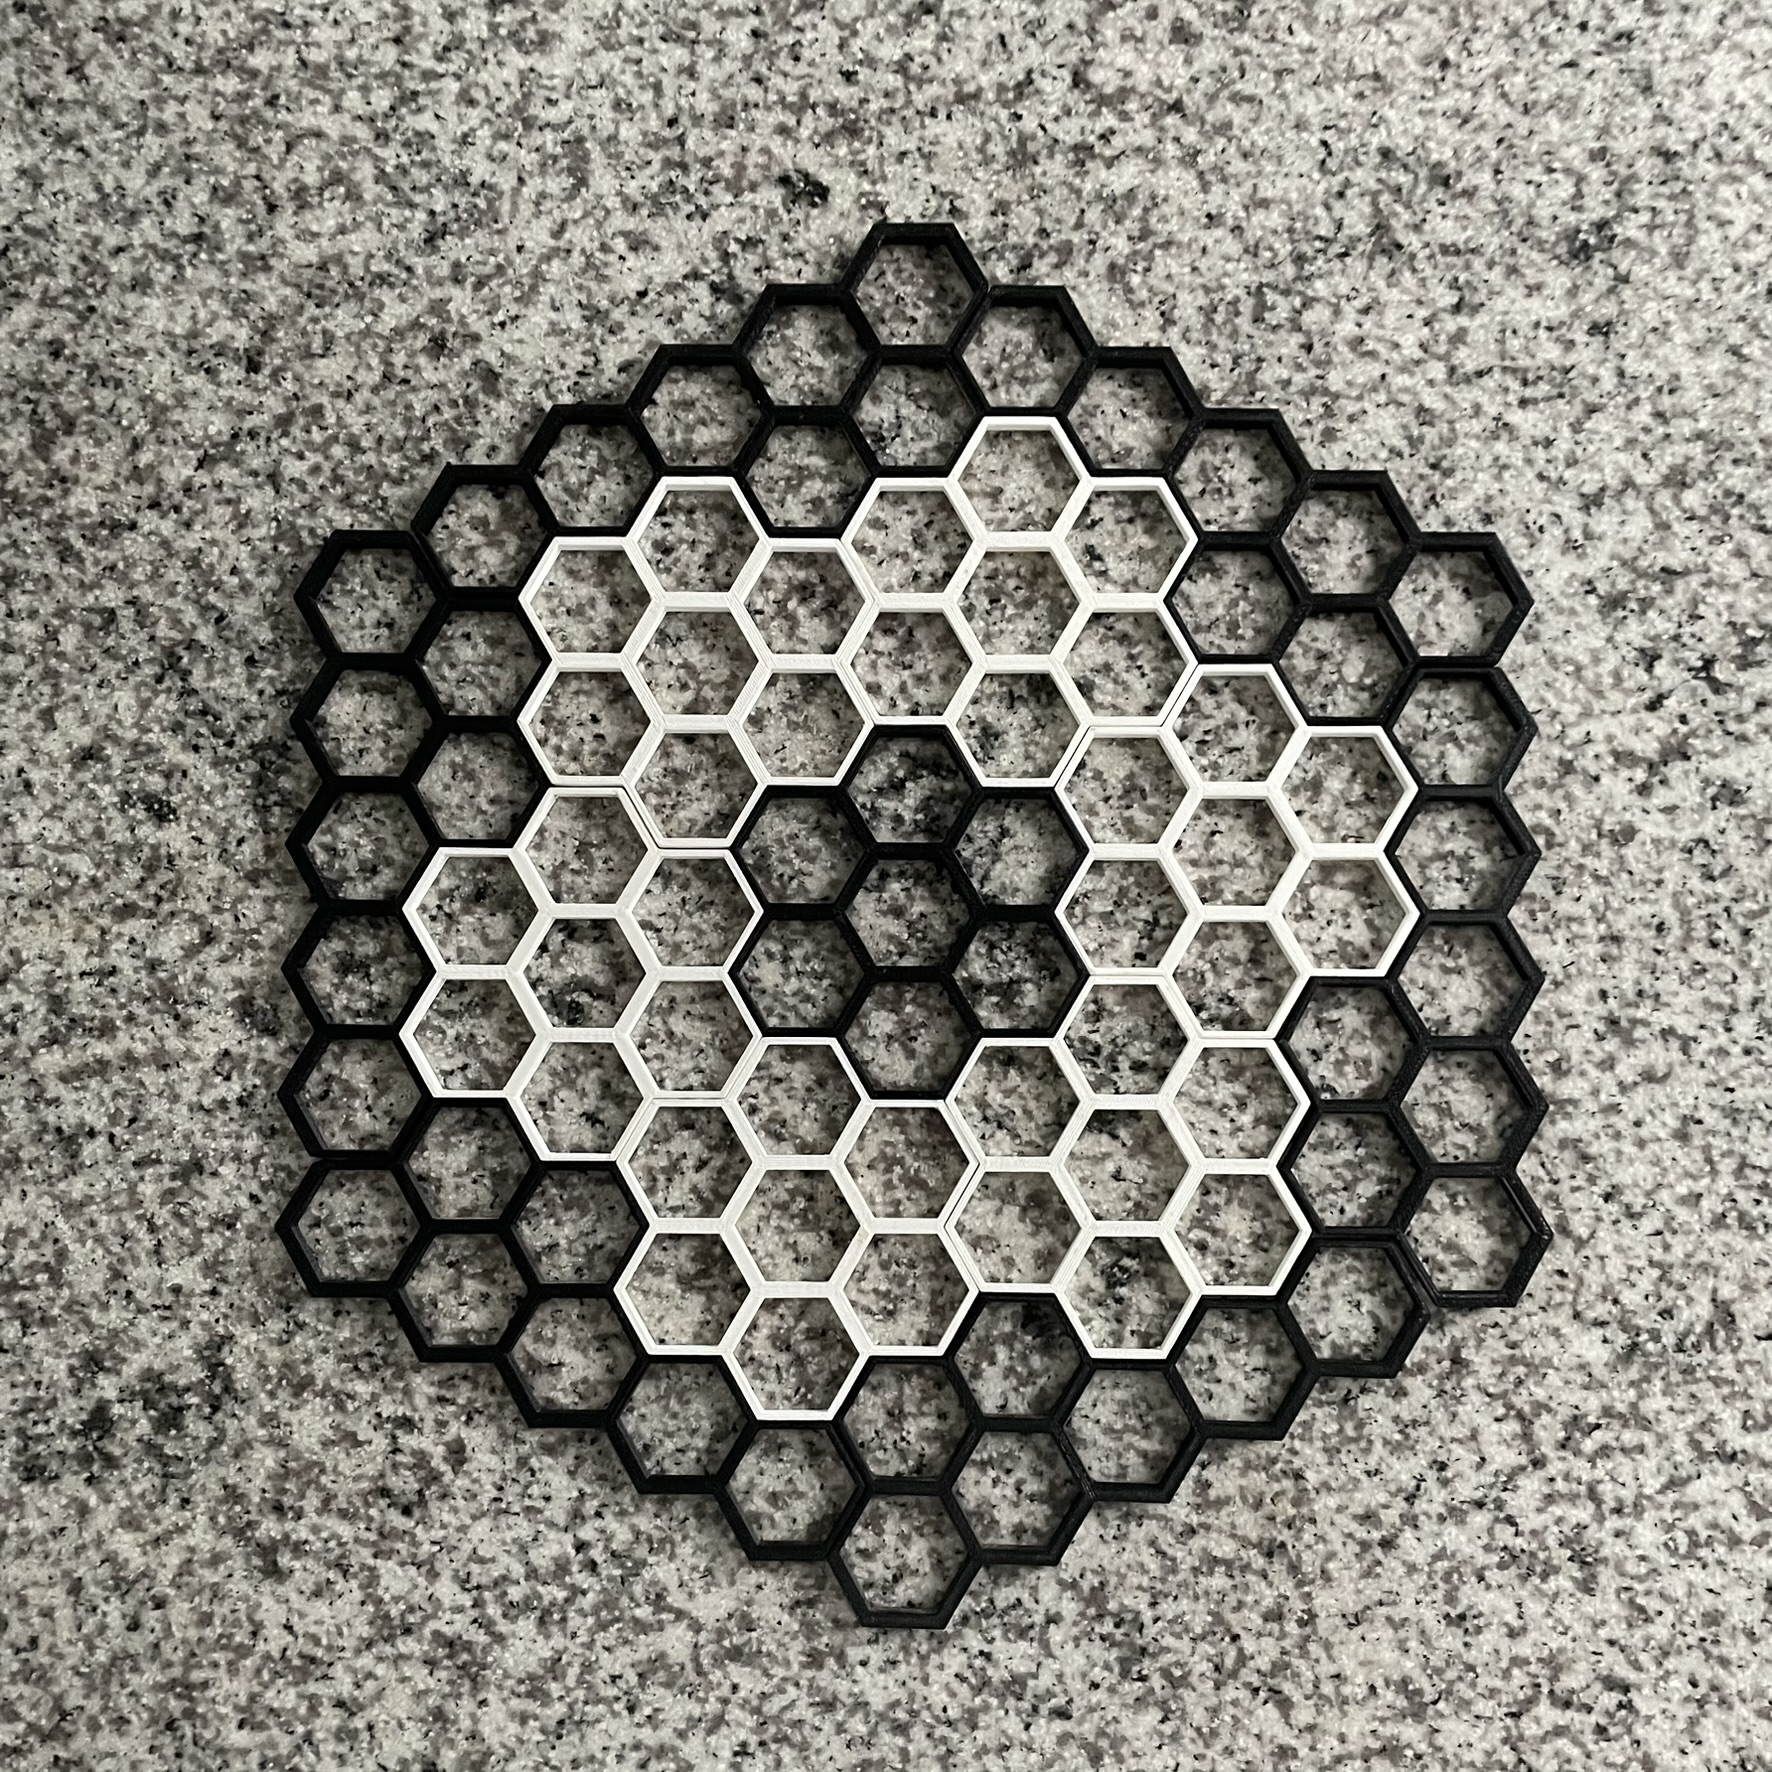
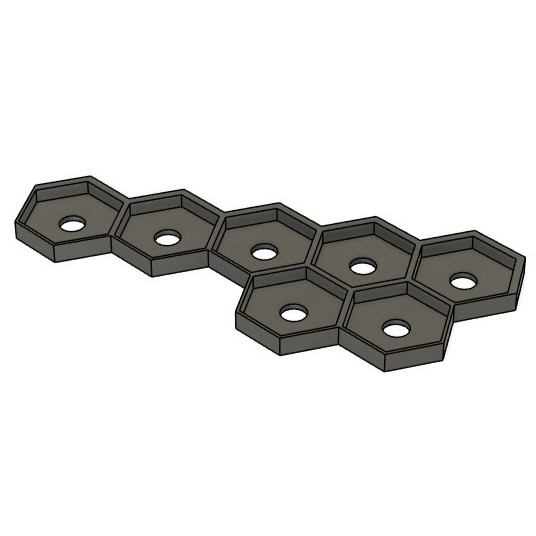
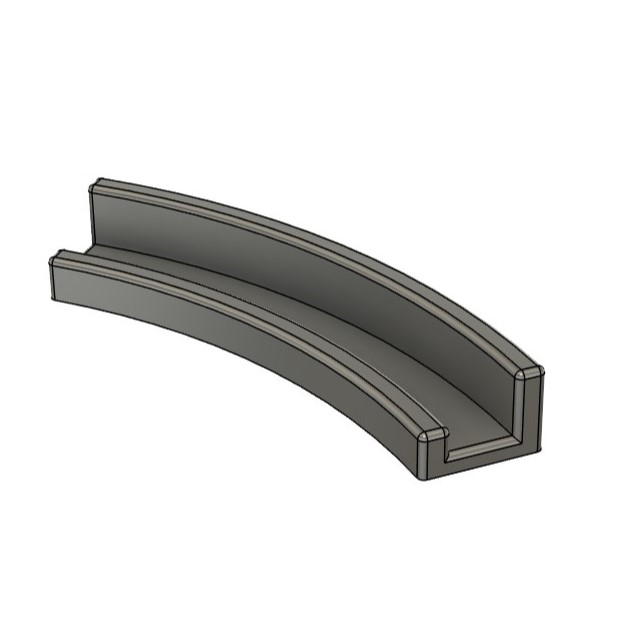
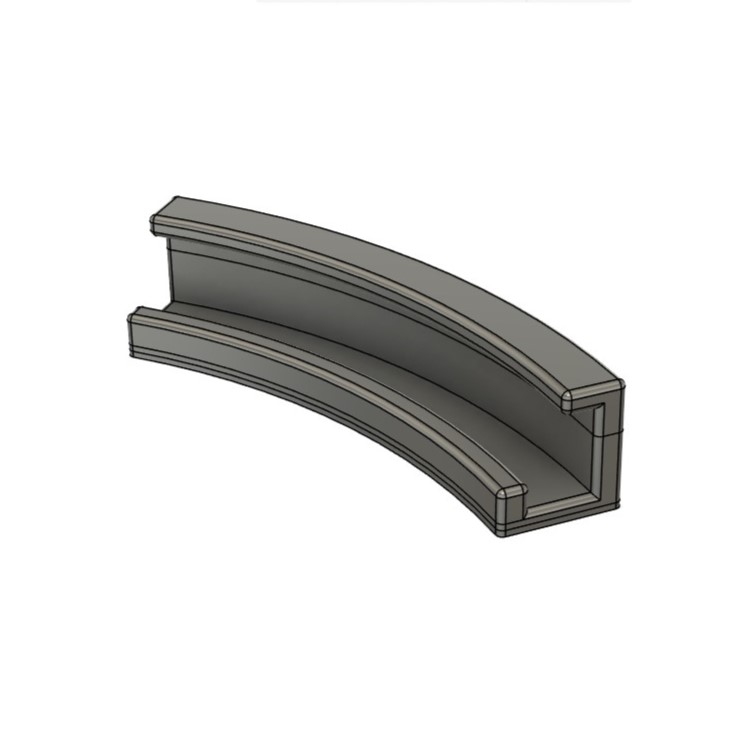
The original 2018 design incorporated seven hexagonal-shaped pieces of seven hexes each, alongside six border pieces (roughly d-shaped) of seven hexes each. In total, there would be 91 hexes in all. Given that each Hive piece was scaled to 0.75″ edge length, the overall dimensions of the design spanned nearly 18″ from vertex to vertex (if one visualizes the overall design as a hexagon).
There were some aspects of the design I did like, including how it allowed for assembly of multiple smaller pieces into a larger design that otherwise would be next-to-impossible to 3D-print in one sitting. However, the galling part was that I needed to use cut-up pieces of sticky tack or command strips to get the border pieces to adhere to the magnetic door of the refrigerator. This process was cumbersome to do, fragile to maintain, and equally taxing to remove. As such, when I moved into my current apartment, the magnetic Hive set sat derelict in a storage closet until I finally decided to tackle the project once again.

I quickly decided upon the creation of a more robust backbone that would actually house the magnets to which the magnetized Hive pieces would attract. I would then no longer need a magnetized or metal surface (i.e. refrigerator door) to display the project. I had the foresight to keep the polarity of pieces consistent, which I suppose was a requirement given that the game allows for the stacking of pieces.
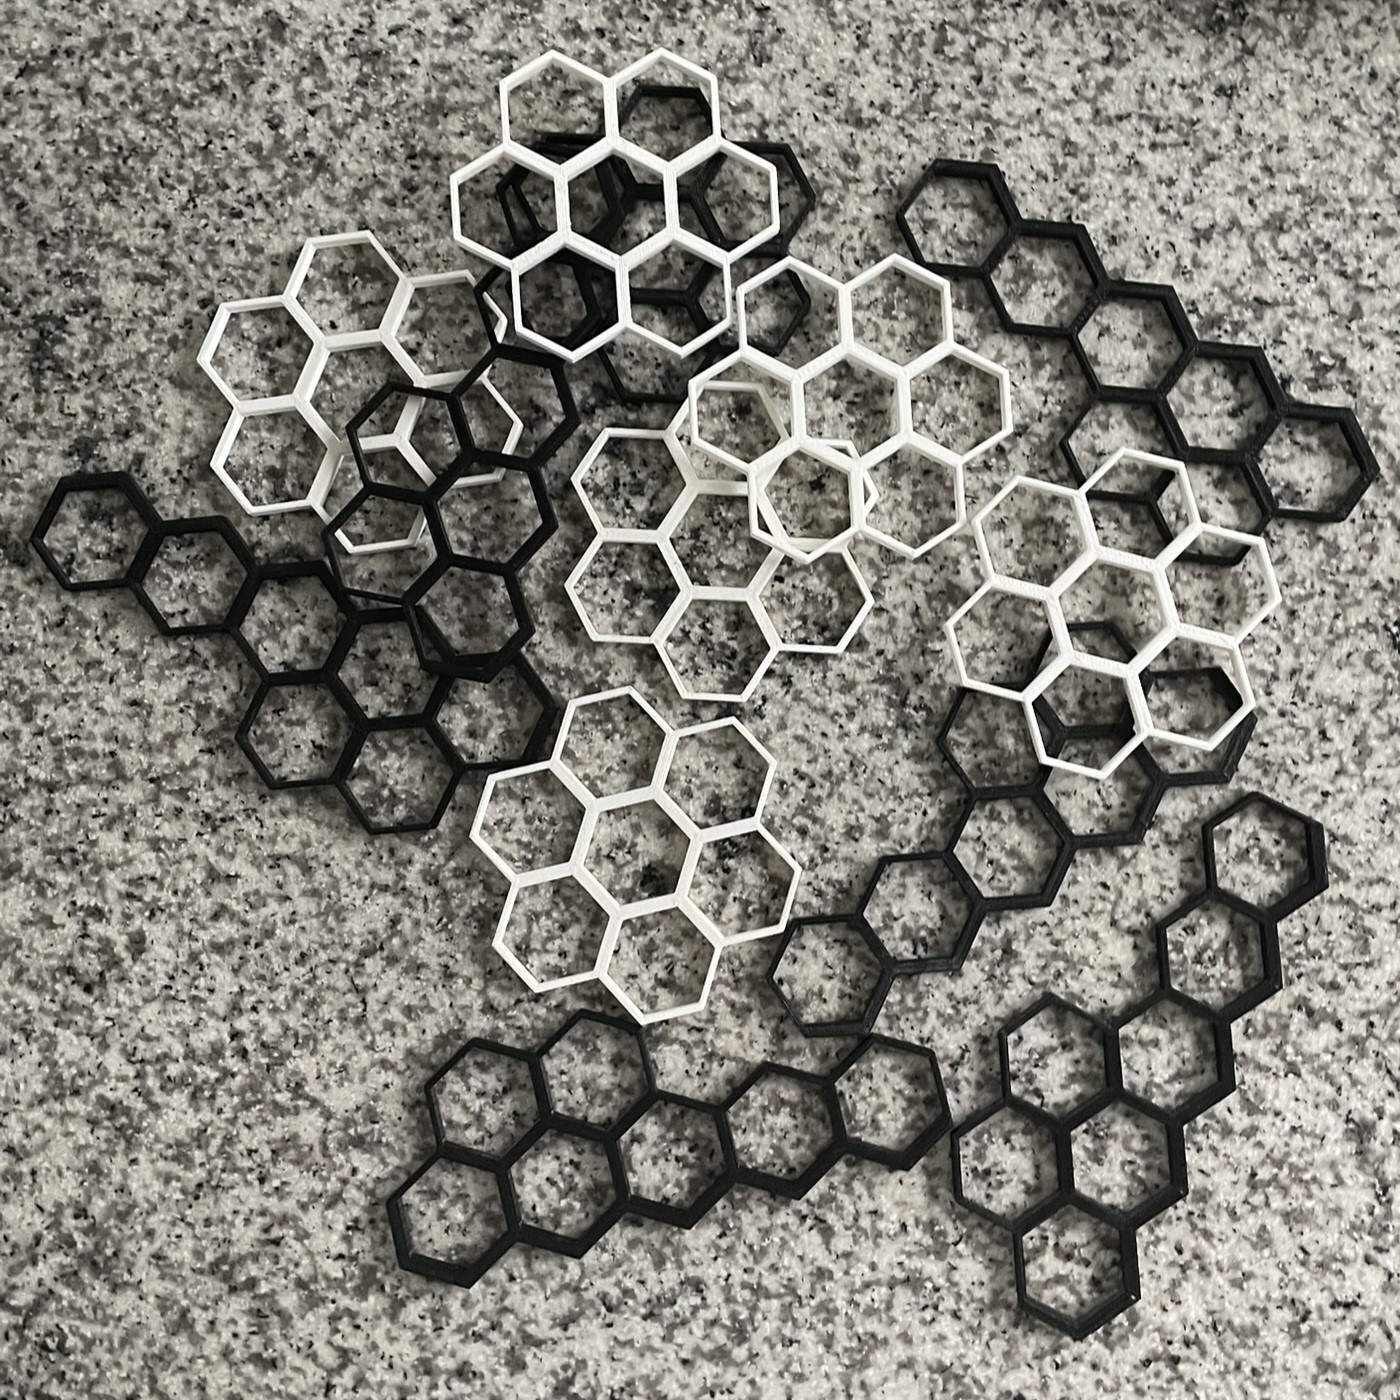
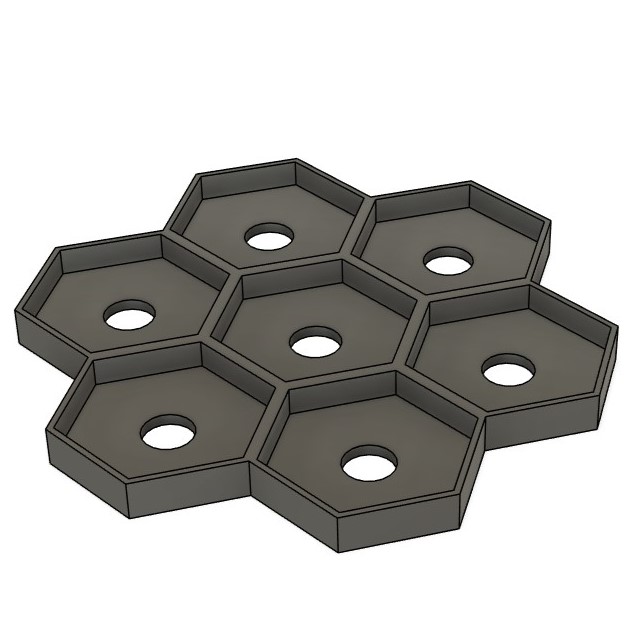
I duplicated the original design (seven hexagons, six d-shapes) in Fusion 360, having long ago lost the original files to time. Initially, I thought of printing out separate pieces to fit in each border hex, but then decided to fill in the backs of the hexes with a circle for a magnet to attach.
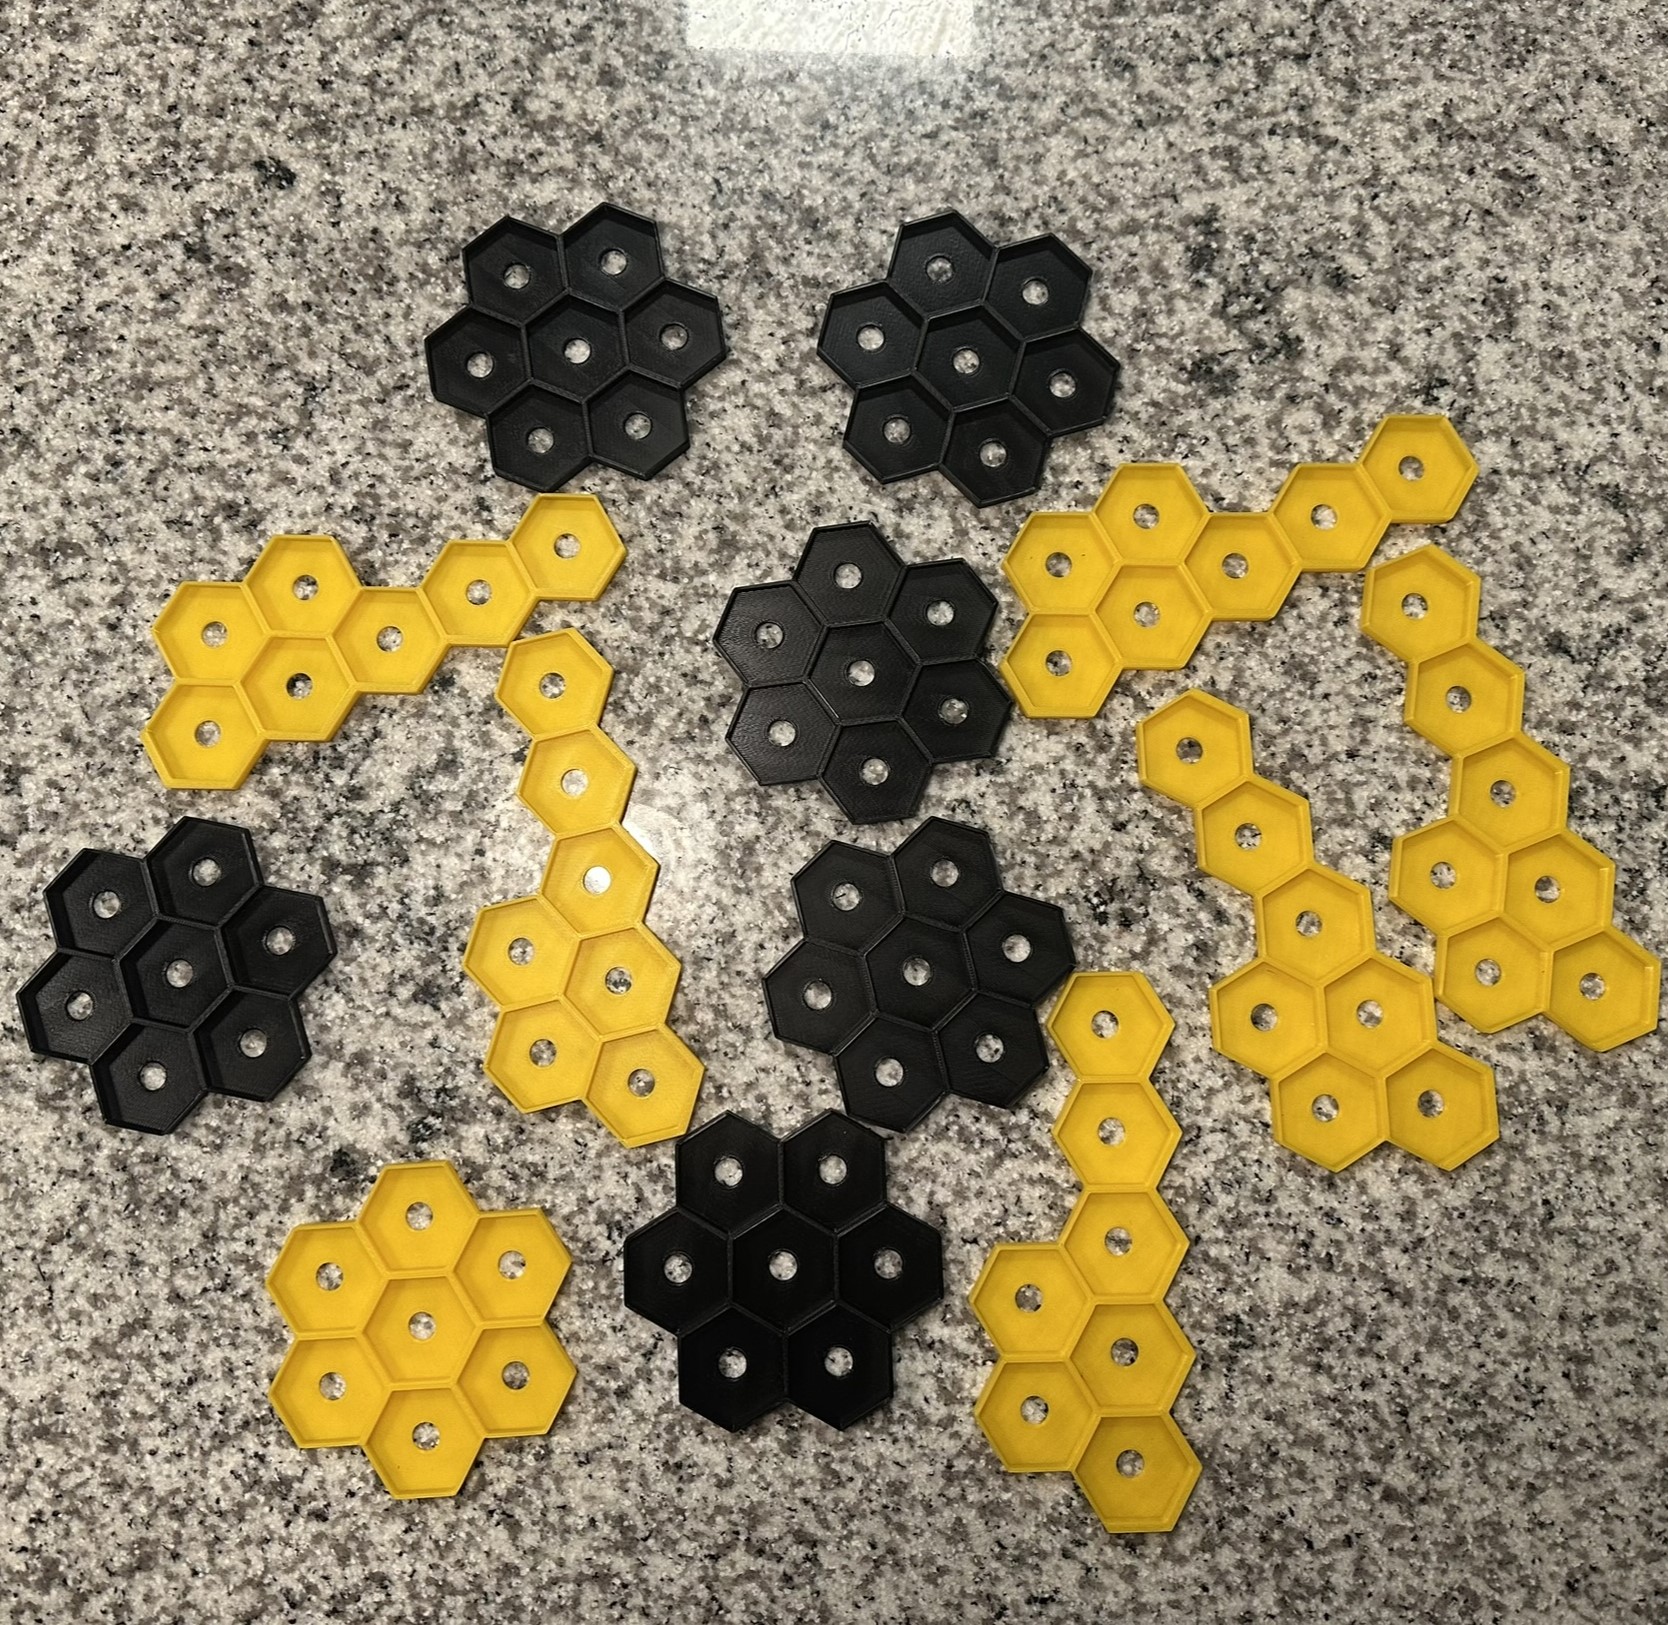
After that pivot, it was a straightforward process to create the rest of the files. Keep in mind that the boundaries between hexes are half the width of the outer boundaries, or else the pieces wouldn’t fit together properly. I chose a contrasting clash of yellow and black this time around, which I thought popped more compared with the white and black from previous.

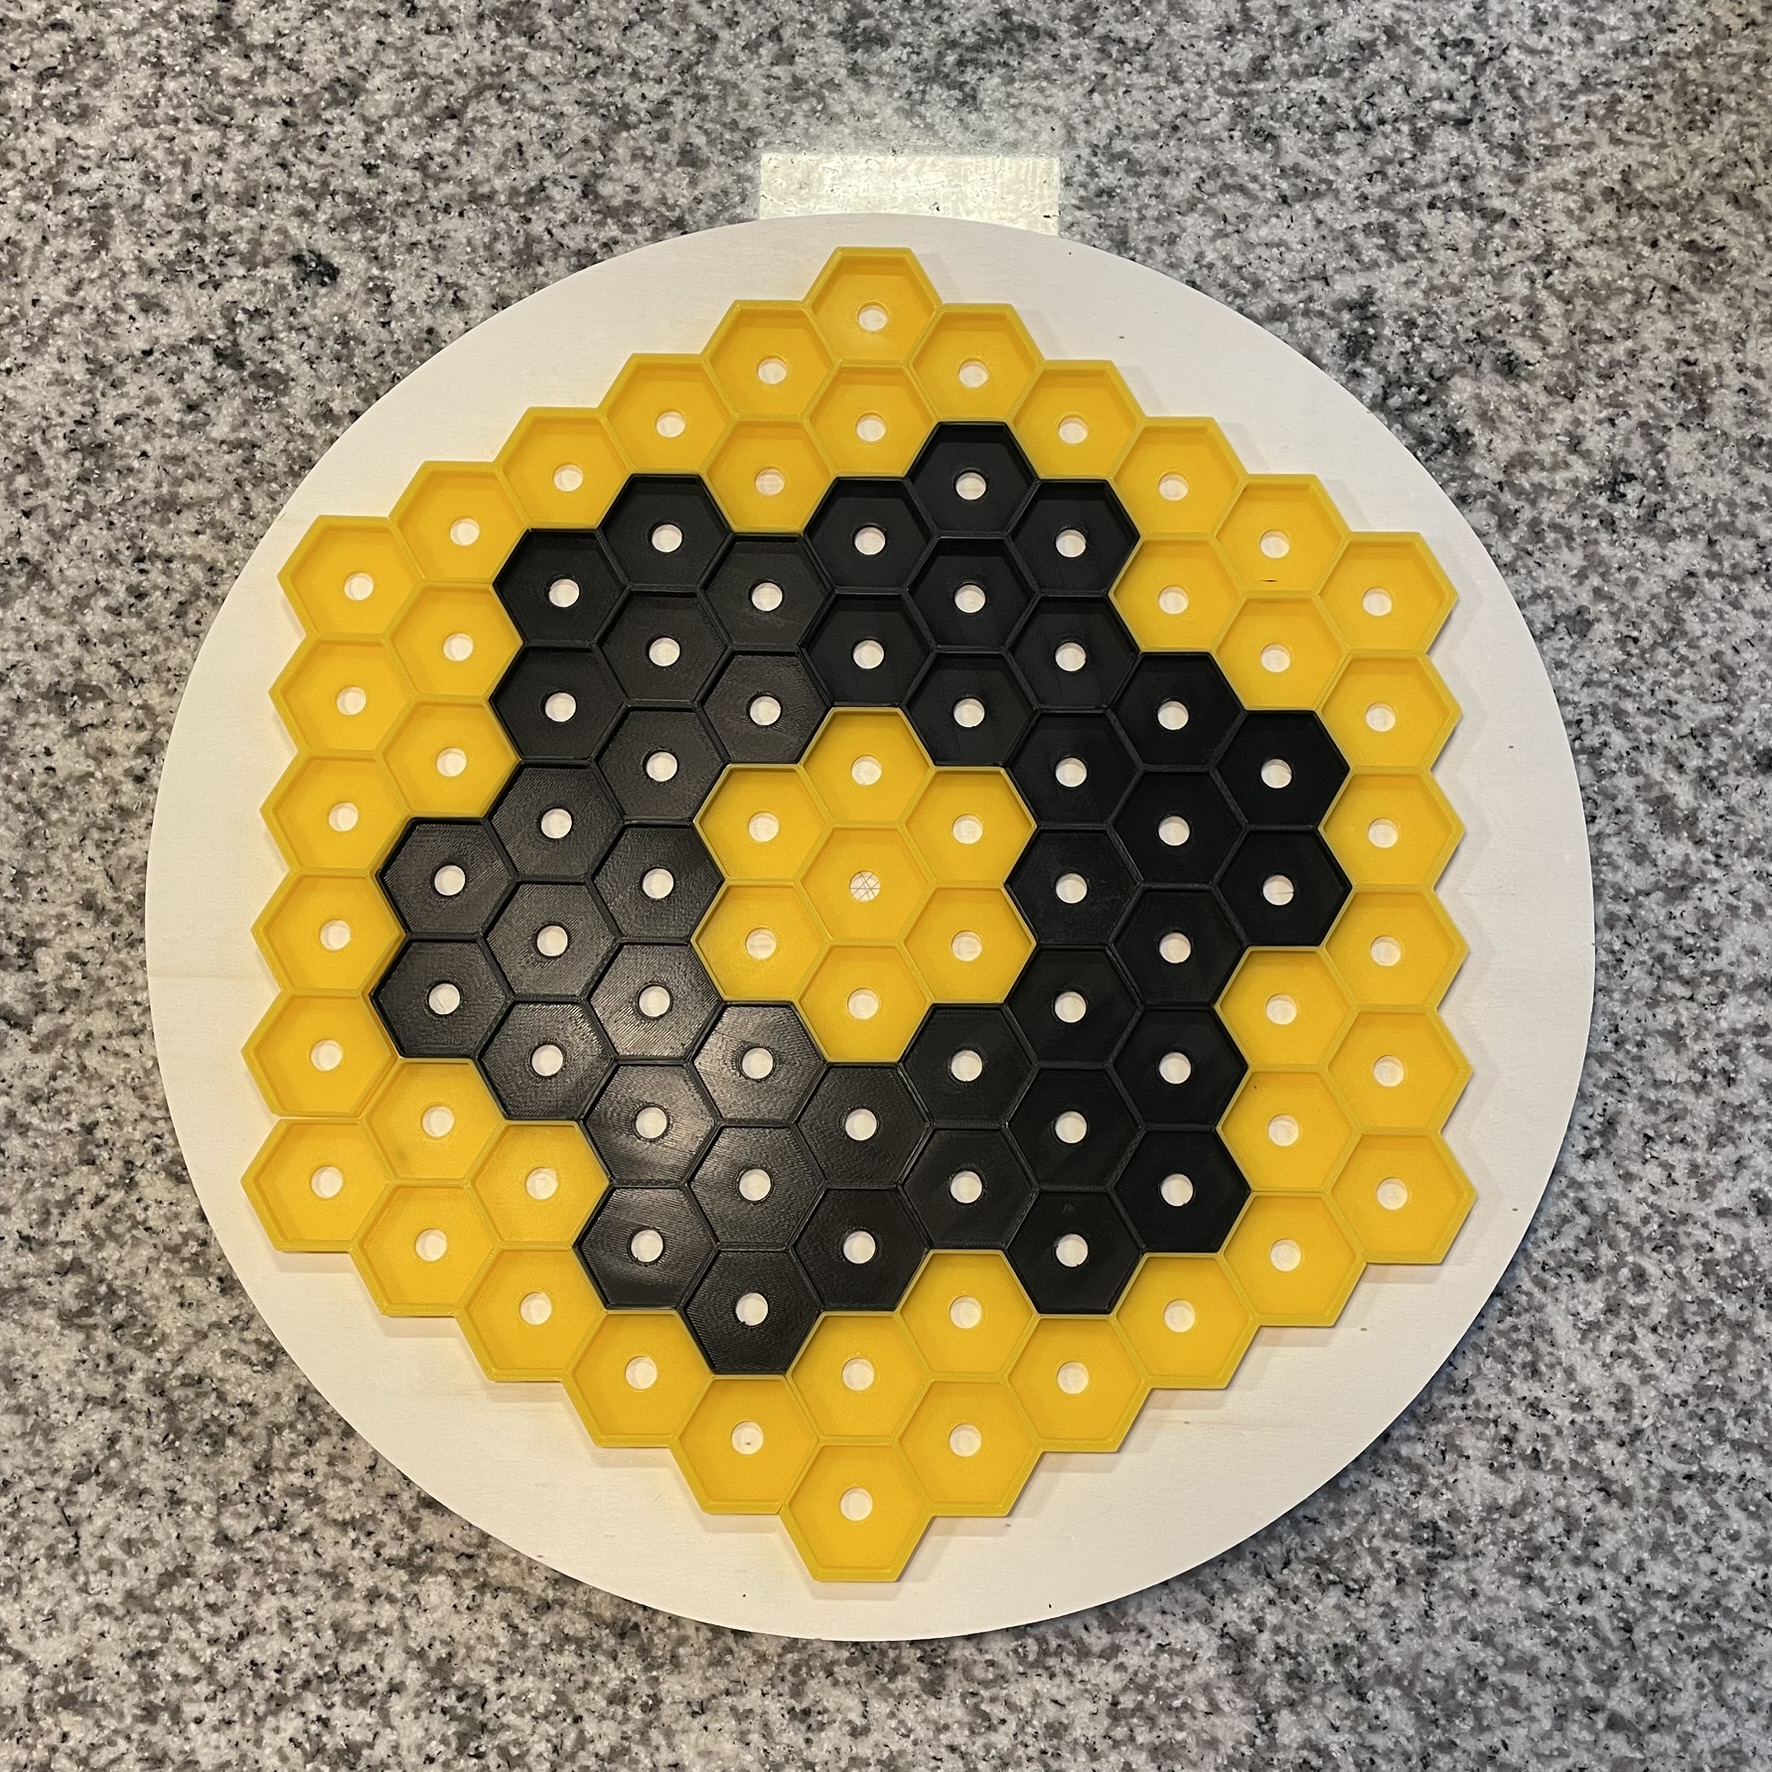
I mounted the 3D-printed border onto a wooden circular board, which measured 18″ in diameter. The center was found using chord perpendicular bisector technique.
Before gluing pieces and adding in magnets, I dry-fitted the 3D-printed pieces. Good fit!
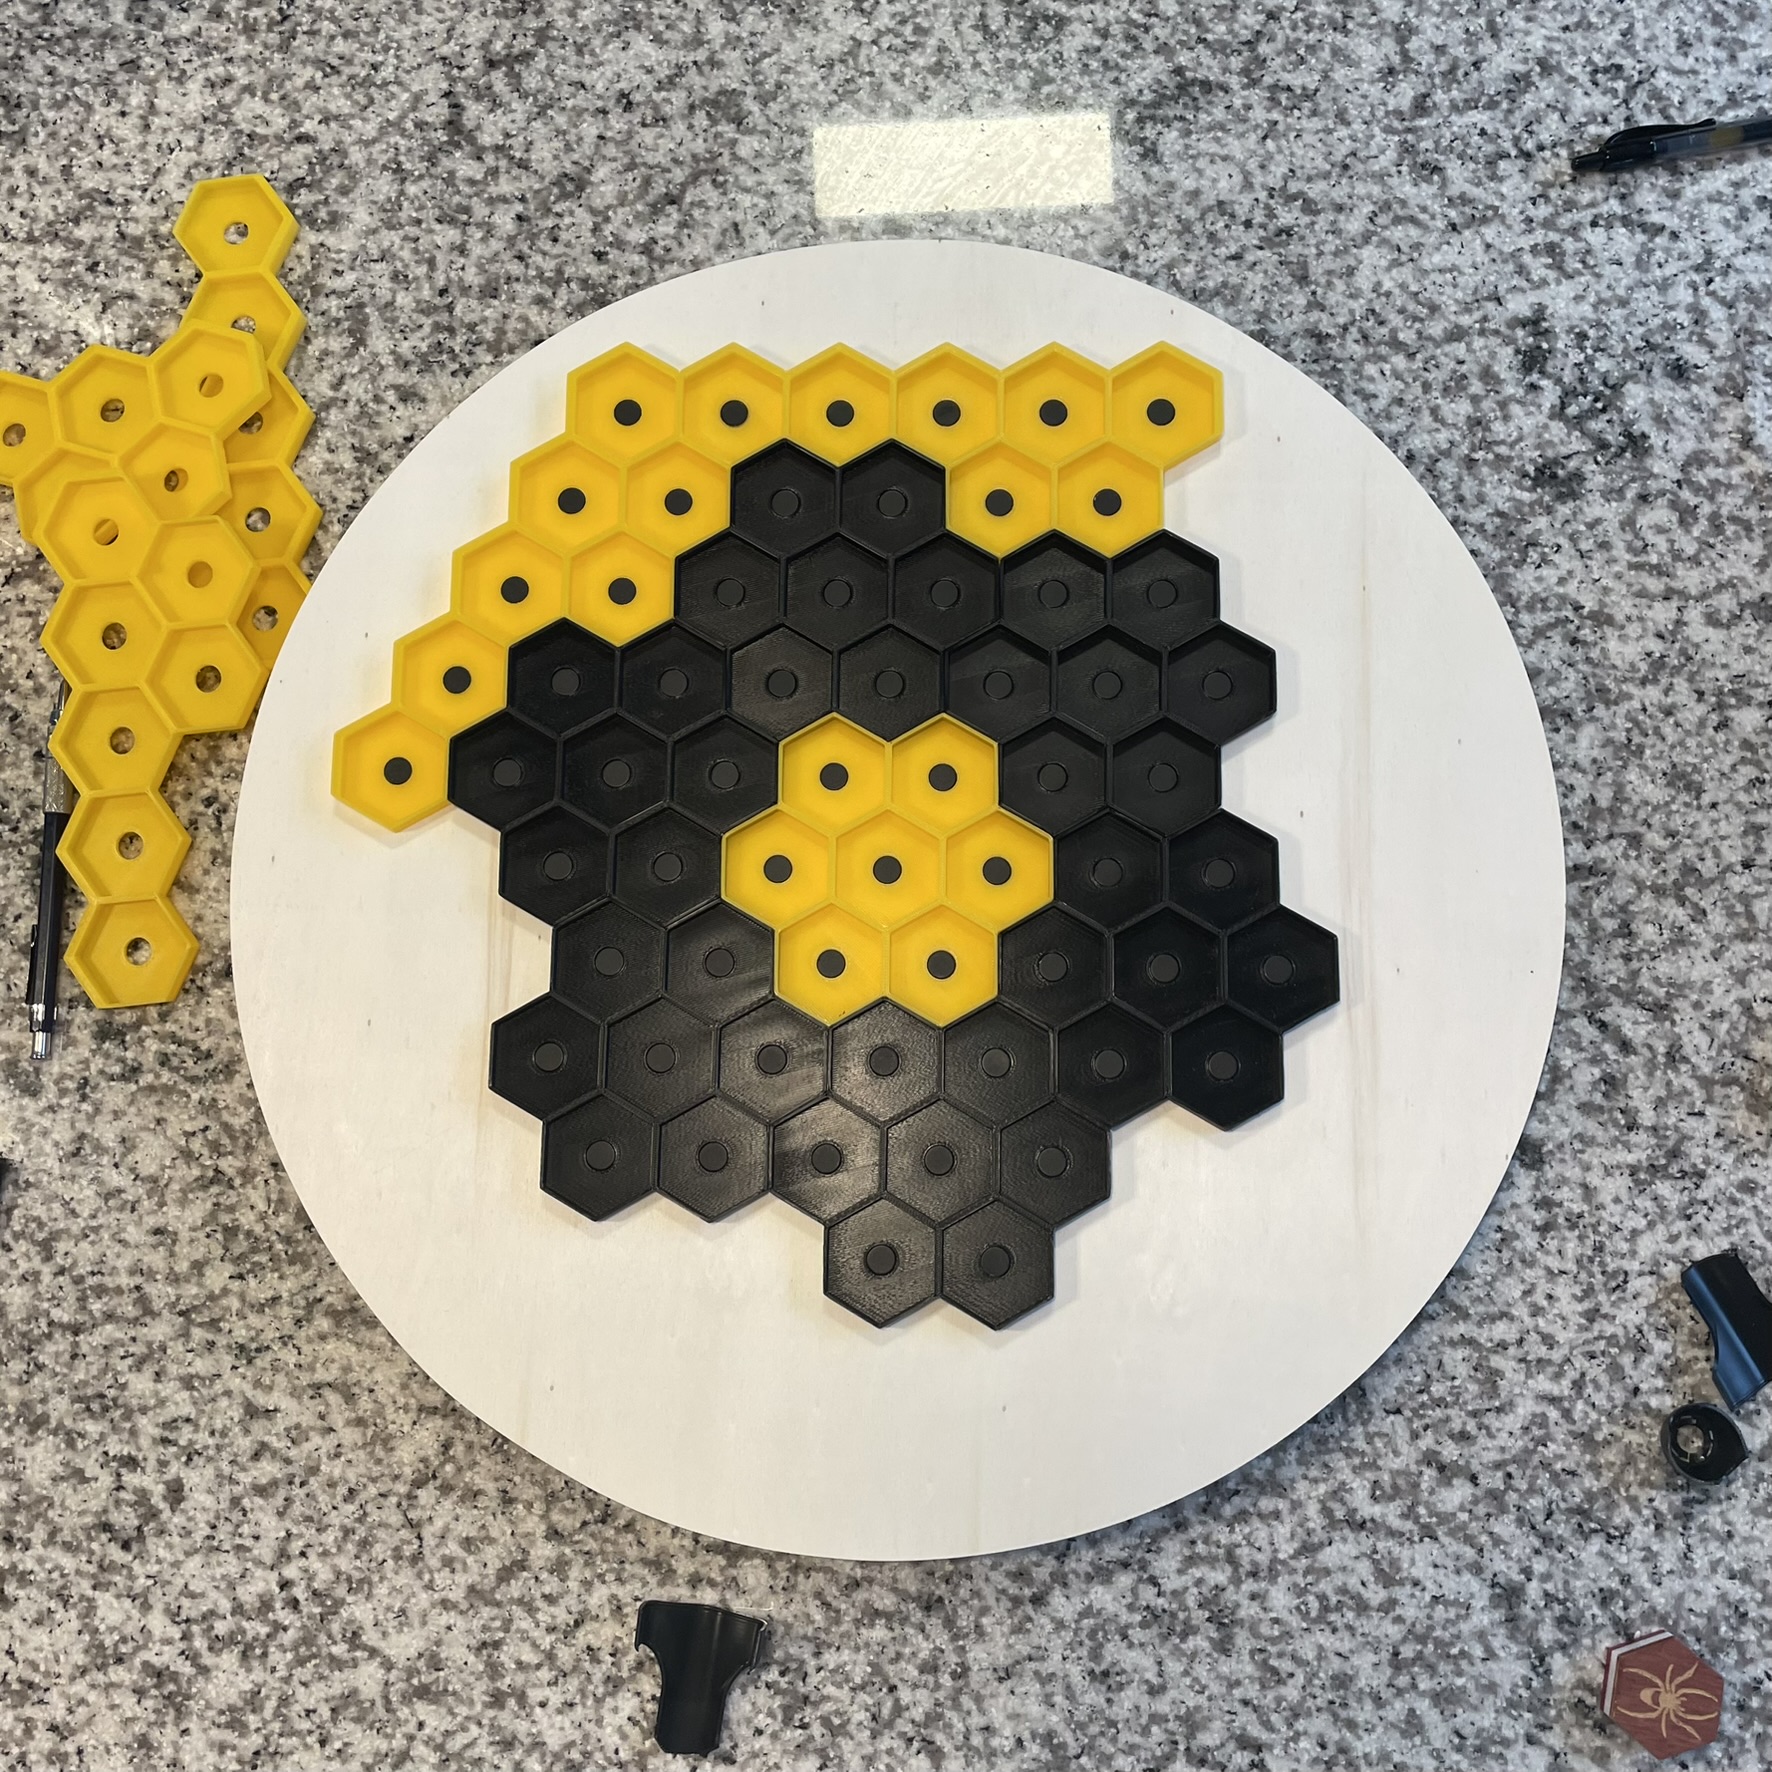

After each of the 3D-prints was carefully glued into place, starting with the center piece, their corresponding magnets were also glued. It was of utmost importance that the polarity was consistent between hex magnets and those of the pieces.
With hex tiles now installed, I moved on to finishing the board with, what else, beeswax and mineral oil mixture that I have previously used when making cutting boards.
2. Designing the Board Holder
By now, I thought that most of the work had been done, but I had a difficult time with mounting the wooden board.
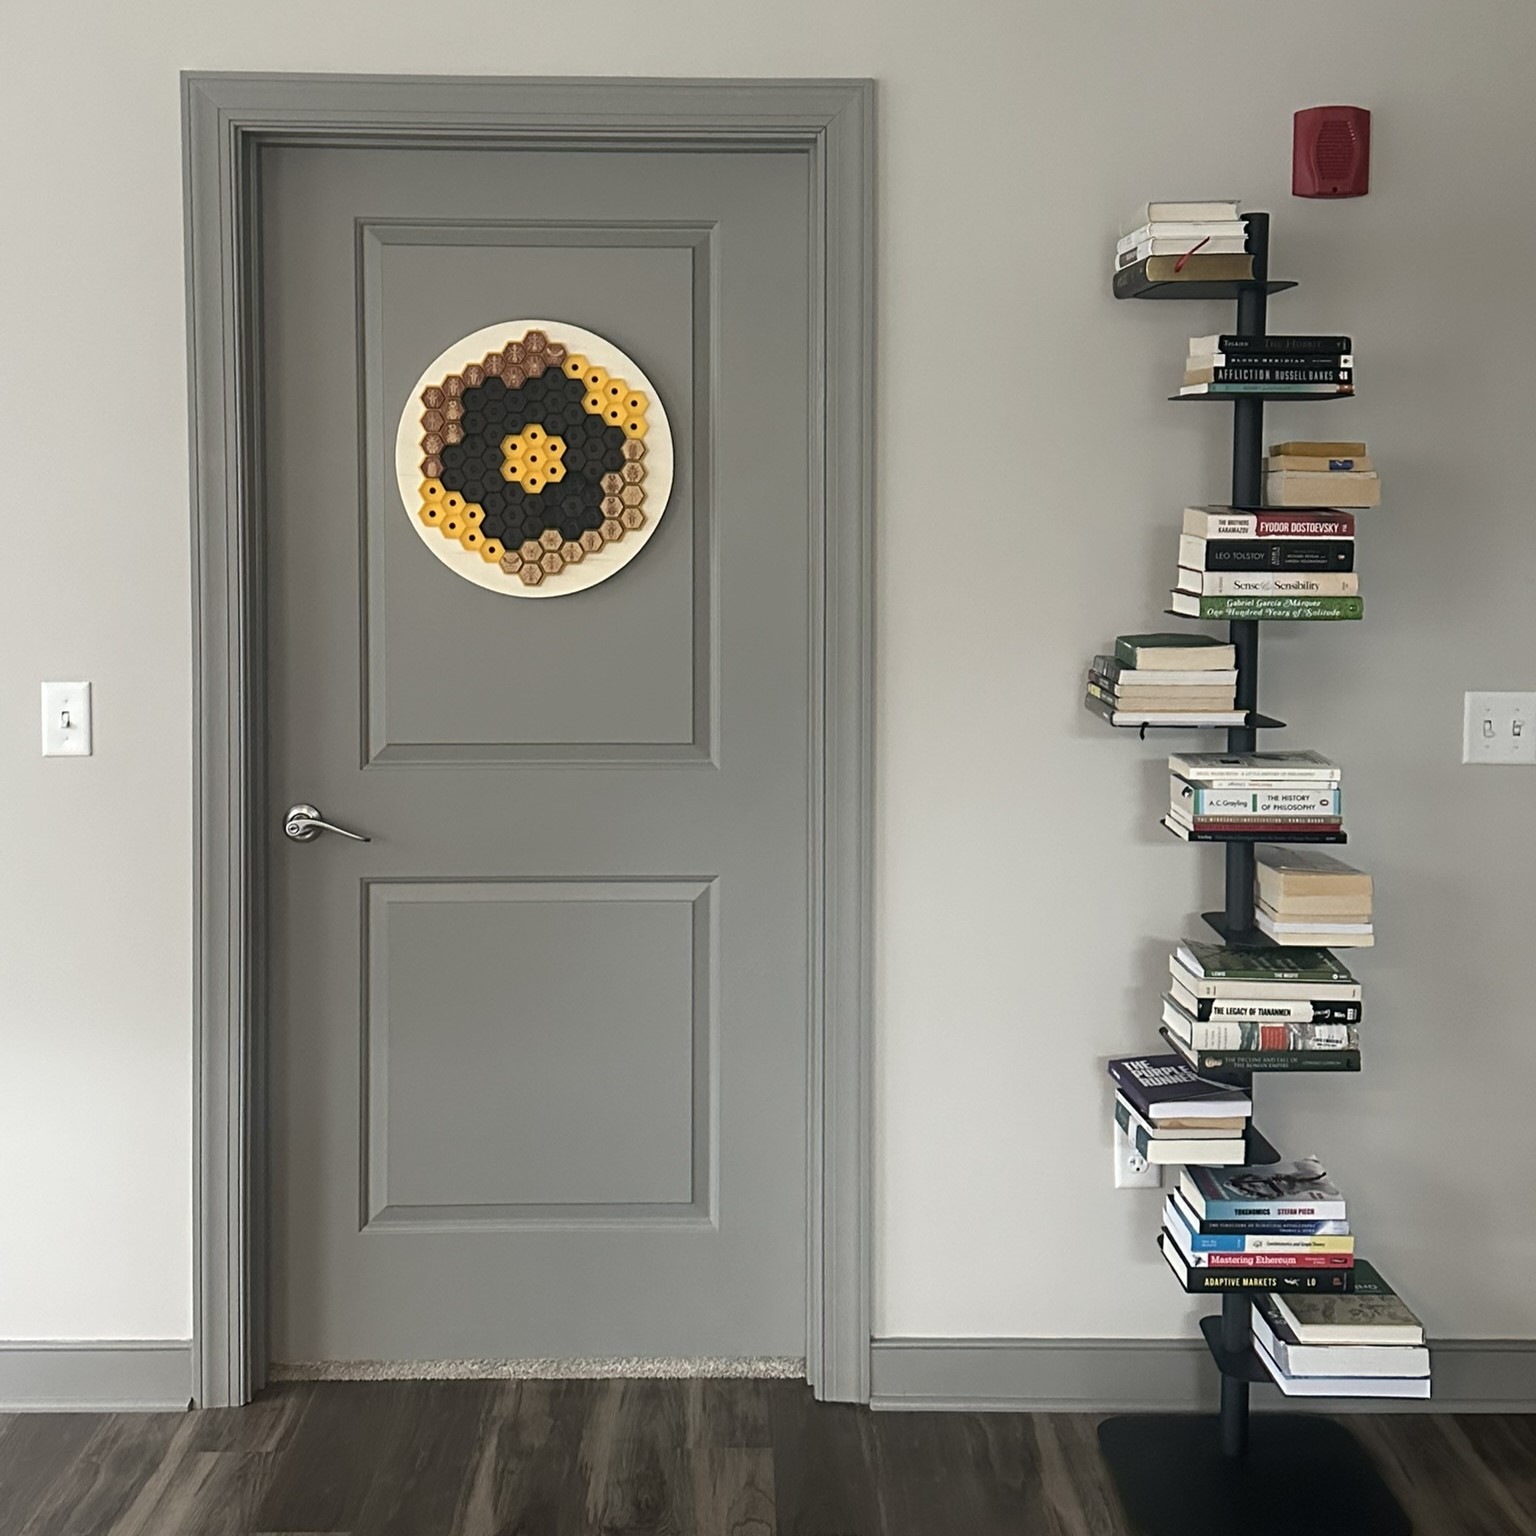
While I could have easily knocked a nail or two into the wall and mounted the board there, I wanted to place the wall Hive set onto the door. Command strips were an option, but they did not adhere well after I finished the surface with beeswax.
The wooden board itself consists of a plywood face that is reinforced with a ring of plywood that forms an indentation of sorts when viewed from the backside. I designed two pieces to hold the board in place. The first fits snugly along the ring while the second wraps around to the front face in a U-shaped manner. It took more trial-and-error than I would have liked, but in the end, the supports function as their name suggest.
3. Final Assembly
Not much to it – command strips for the printed supports holding the wooden board and that’s all there is to it!
Lessons Learned & Improvements
Overall, I am quite satisfied with the project. It took many years for me to decide to revisit the idea, and I don’t regret it in the least. One potential improvement would be to add a thin layer of filament over the magnets, then insert the magnet from the backside. This would hide the magnets from view without much compromise to the magnetic pull between Hive piece and the hex magnet. Another thought I had was to form holders on the side for pieces to go when not in play, though the board is usually large enough that the game is contained within its confines. I suppose I could go up in hexes, but then the board required to support this would become unreasonable in size.
Reflection
Having made multiple posts on Hive the last few months only makes me miss it all the more! I used to play on a daily basis, but I can’t remember the last time I played against an opponent. Time to see if I still got it!