
Project Timespan
One week in February 2023
Inspiration
At the local Games Workshop store, we recently picked up a copy of Dungeon Bowl, a board game which can be described with the following snippet of text:
“In Dungeon Bowl, you are the coach of a team from one of the eight Colleges of Magic. You must hunt down the ball in a dangerous dungeon while avoiding traps, jumping between portals and rummaging through chests to find unimaginable treasures, all in the name of glory, pride and touchdowns.”
When ringing up the sale, the employee mentioned that given the box components, the only other items required to play Blood Bowl would be the rulebook and game board – provided one had the miniatures. While I have played a version of Blood Bowl on Steam, I had never before played a physical version of the game. A physical copy of the Blood Bowl rulebook runs approximately $50, but I had the idea to reproduce my own version of the rules.
Project Overview
Materials
Printing
Sewing
Trimming
Spine and Cover
Materials
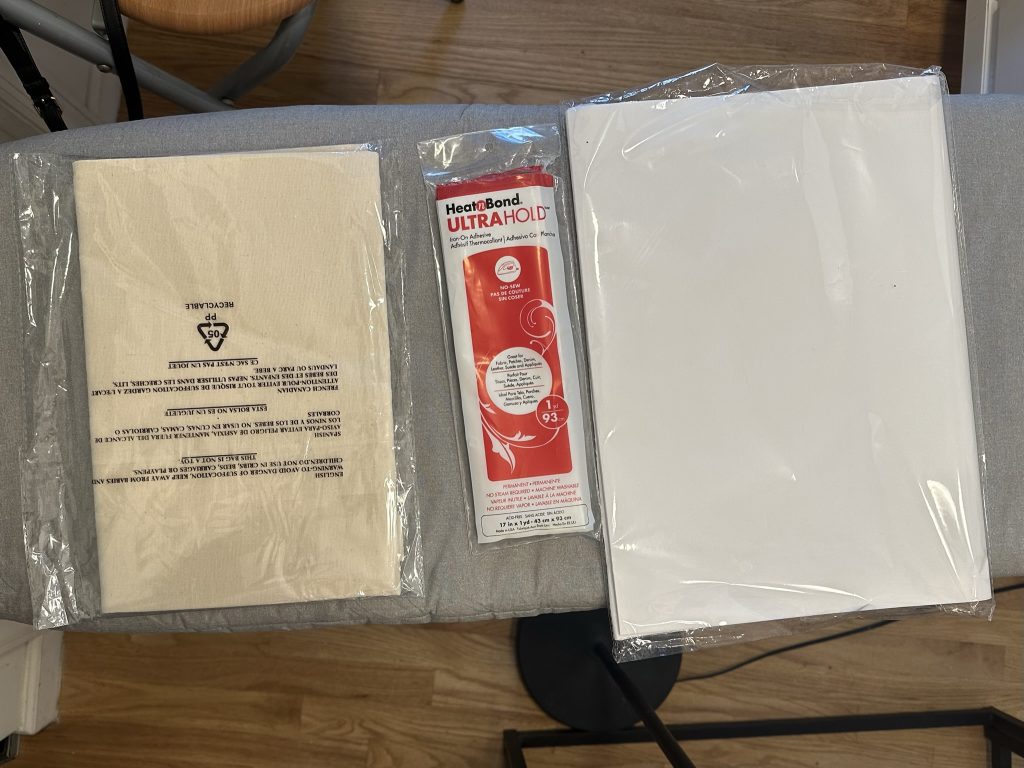
Bookbinding materials vary considerably depending on what end product one is looking to achieve, and for my first effort, I decided to go for simpler materials, lest more expensive media become wasted in the hands of an inexperienced bookbinder. Therefore, I decided to purchase an inexpensive book binding kit from online for this purpose
Paper is the literal foundation of a book, and there are countless permutations of paper material, color, finish, and paper weight.
Paper weight (not to be confused with paperweight) is generally expressed in units of pounds or GSM (grams per square meter). The way paper is measured is in pounds per 500 standard sheets within its type (each type of paper has its own “standard sheet” size – for example, a “book” has a sheet of size 25″ x 38″). GSM is a more straightforward measurement to understand, as it is the mass in grams of one square meter sheet of that specific paper type.
In terms of a range in paper weight, your average flimsy office space paper may only weigh 20 lbs (75 gsm) while durable cardstock can run to ~100 lbs (270 gsm) or more. For this project, I decided on a sturdy, aged-appearing paper of moderate weight.
Chipboard, or binder’s board, is a pressed fiberboard that forms the front, side, and back of the hardcover. There do exist alternative options such as the museum board (made of cotton fibers) or Davey board as well. To be honest, I am still not sure of the particulars of chipboard, and I think an appropriate thickness of MDF may also be an option.
Through looking at various tutorials, I came across other materials that are useful in the bookbinding process including tissue papers, adhesives, and fabric, all of which I ended up using in the course of this project.
Printing
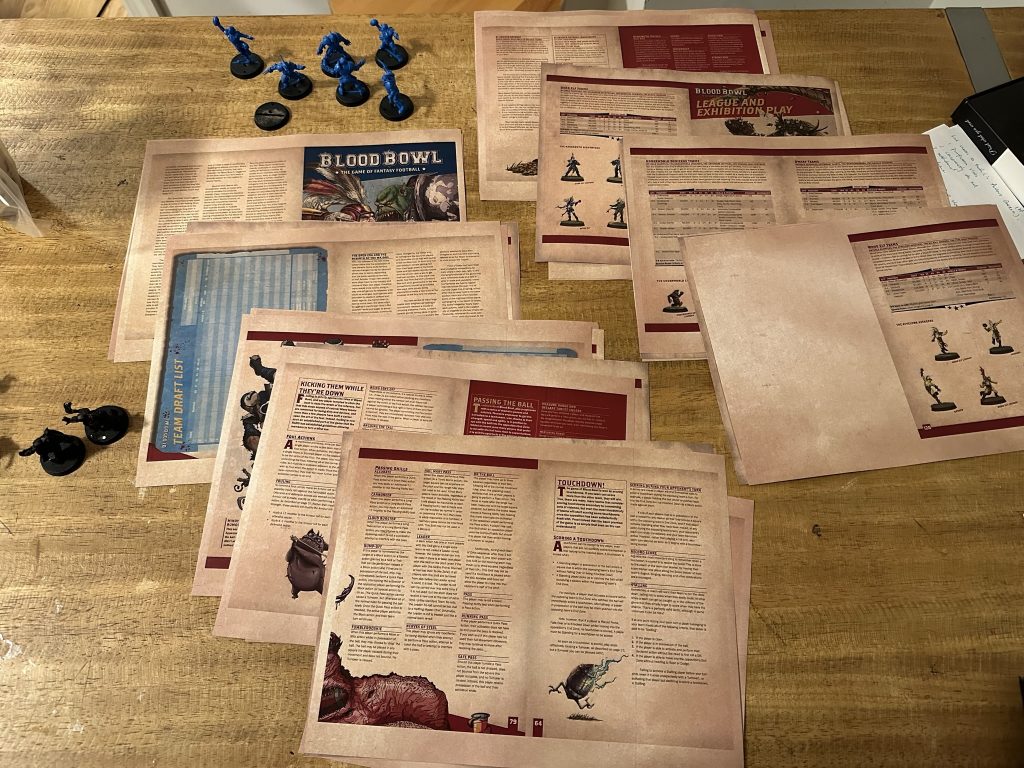
The book I was making was about 100 pages or so, so it was not the most straightforward process to print out the pages. For one time I did not want the page of a book to be a full 8.5″ x 11″, as that would just be too large. Instead, what I wanted was a more pocket-sized handbook measuring approximately 5″ x7″ or so. Thus, each page of letter paper would be enough to provide for two pages in the completed product.
A tricky aspect of the printing process is that I decided to find the book into eight sheet folios. Now, this requires a bit of an explanation. Each sheet is folded in half to make a total of four pages of a book – a folio. Eight of these folios are then sewn together to make a signature, and the book itself will be comprised of multiple such signatures. The majority of books are bound in this manner; if one or two take a look top-down or bottom-up at a book, one would see that the pages are secured in multiple bundles. A book’s signature look, so to speak!
However, that also means that each signature has an interesting pattern of page numbering. In a hypothetical signature of 32 pages, the first folio would comprise pages 1 – 2 and 31 – 32, while the second folio would be pages 3 – 4 and 29 – 30, and so on.
Sewing
Sewing is one of the more fun aspects of bookbinding, and there are many different sewing patterns that one can stumble across. I found a nice online tutorial by Sea Lemon that hits the right depth for a beginner bookbinder – try it out!
I ended up sewing together 9 signatures in all – lots of fun!
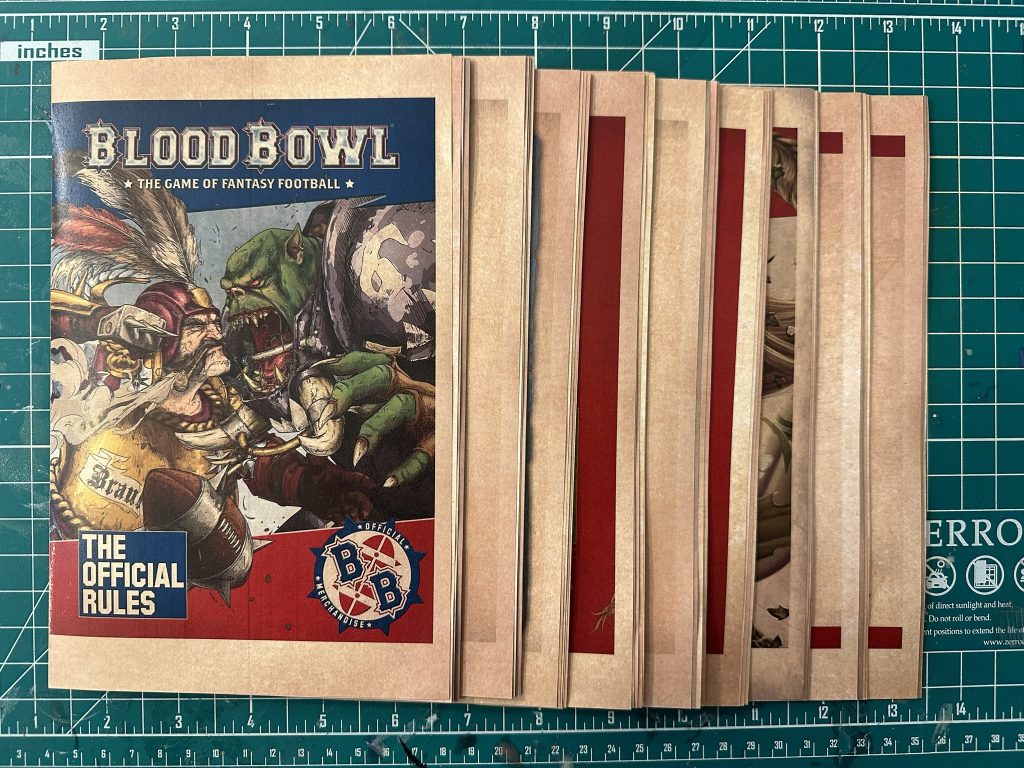
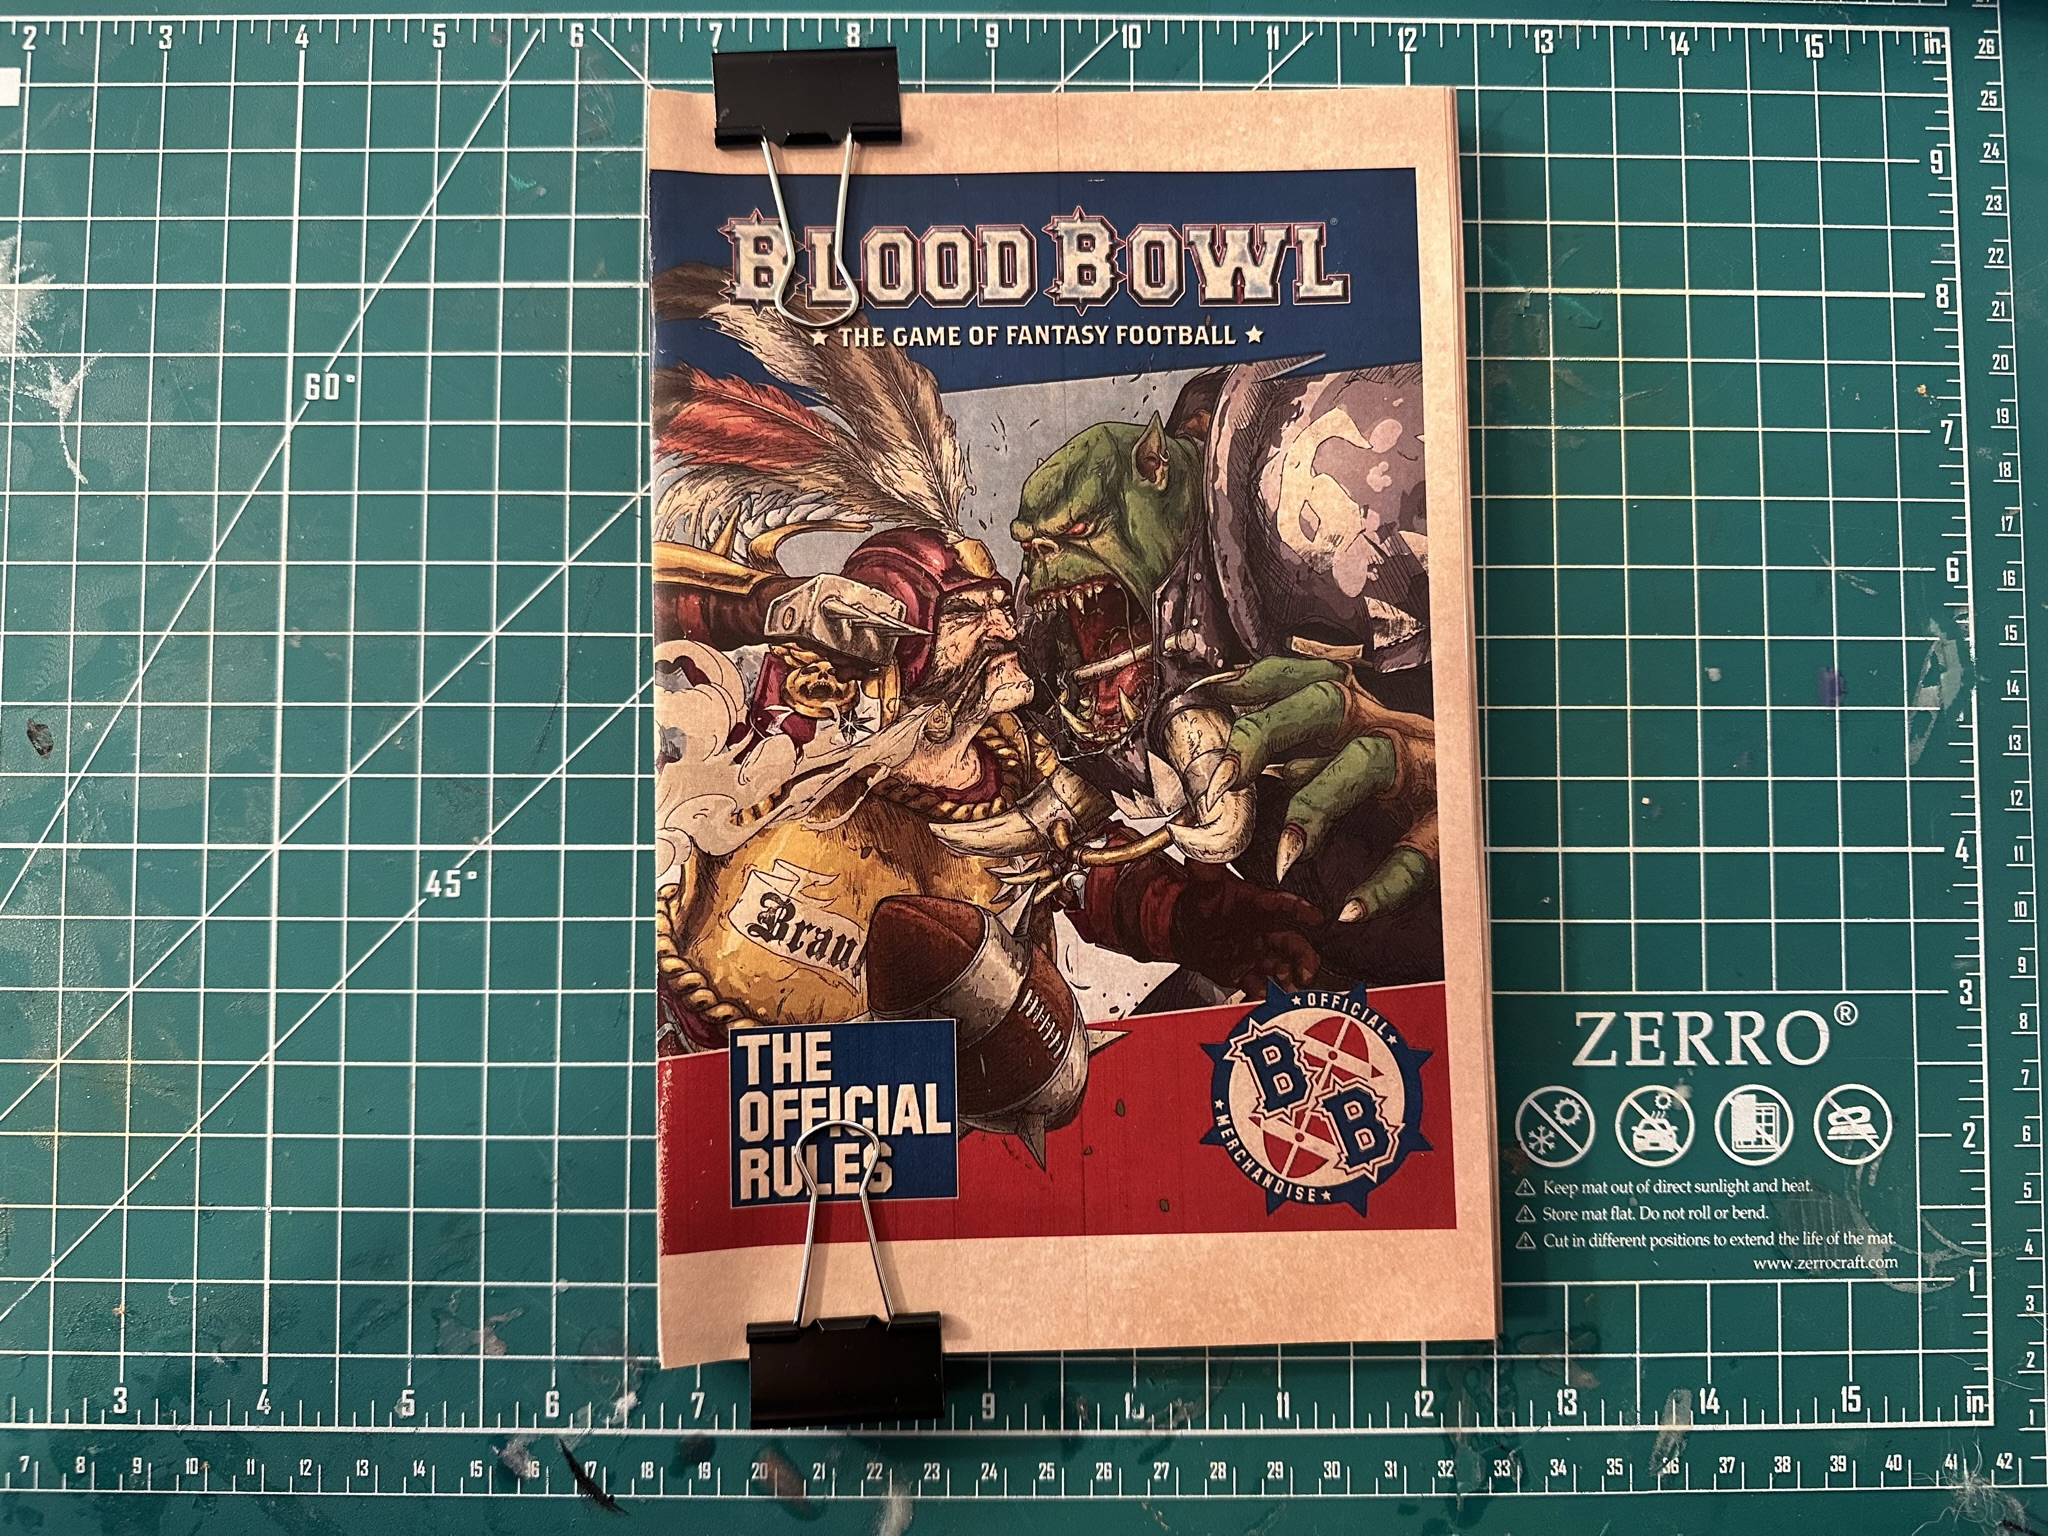
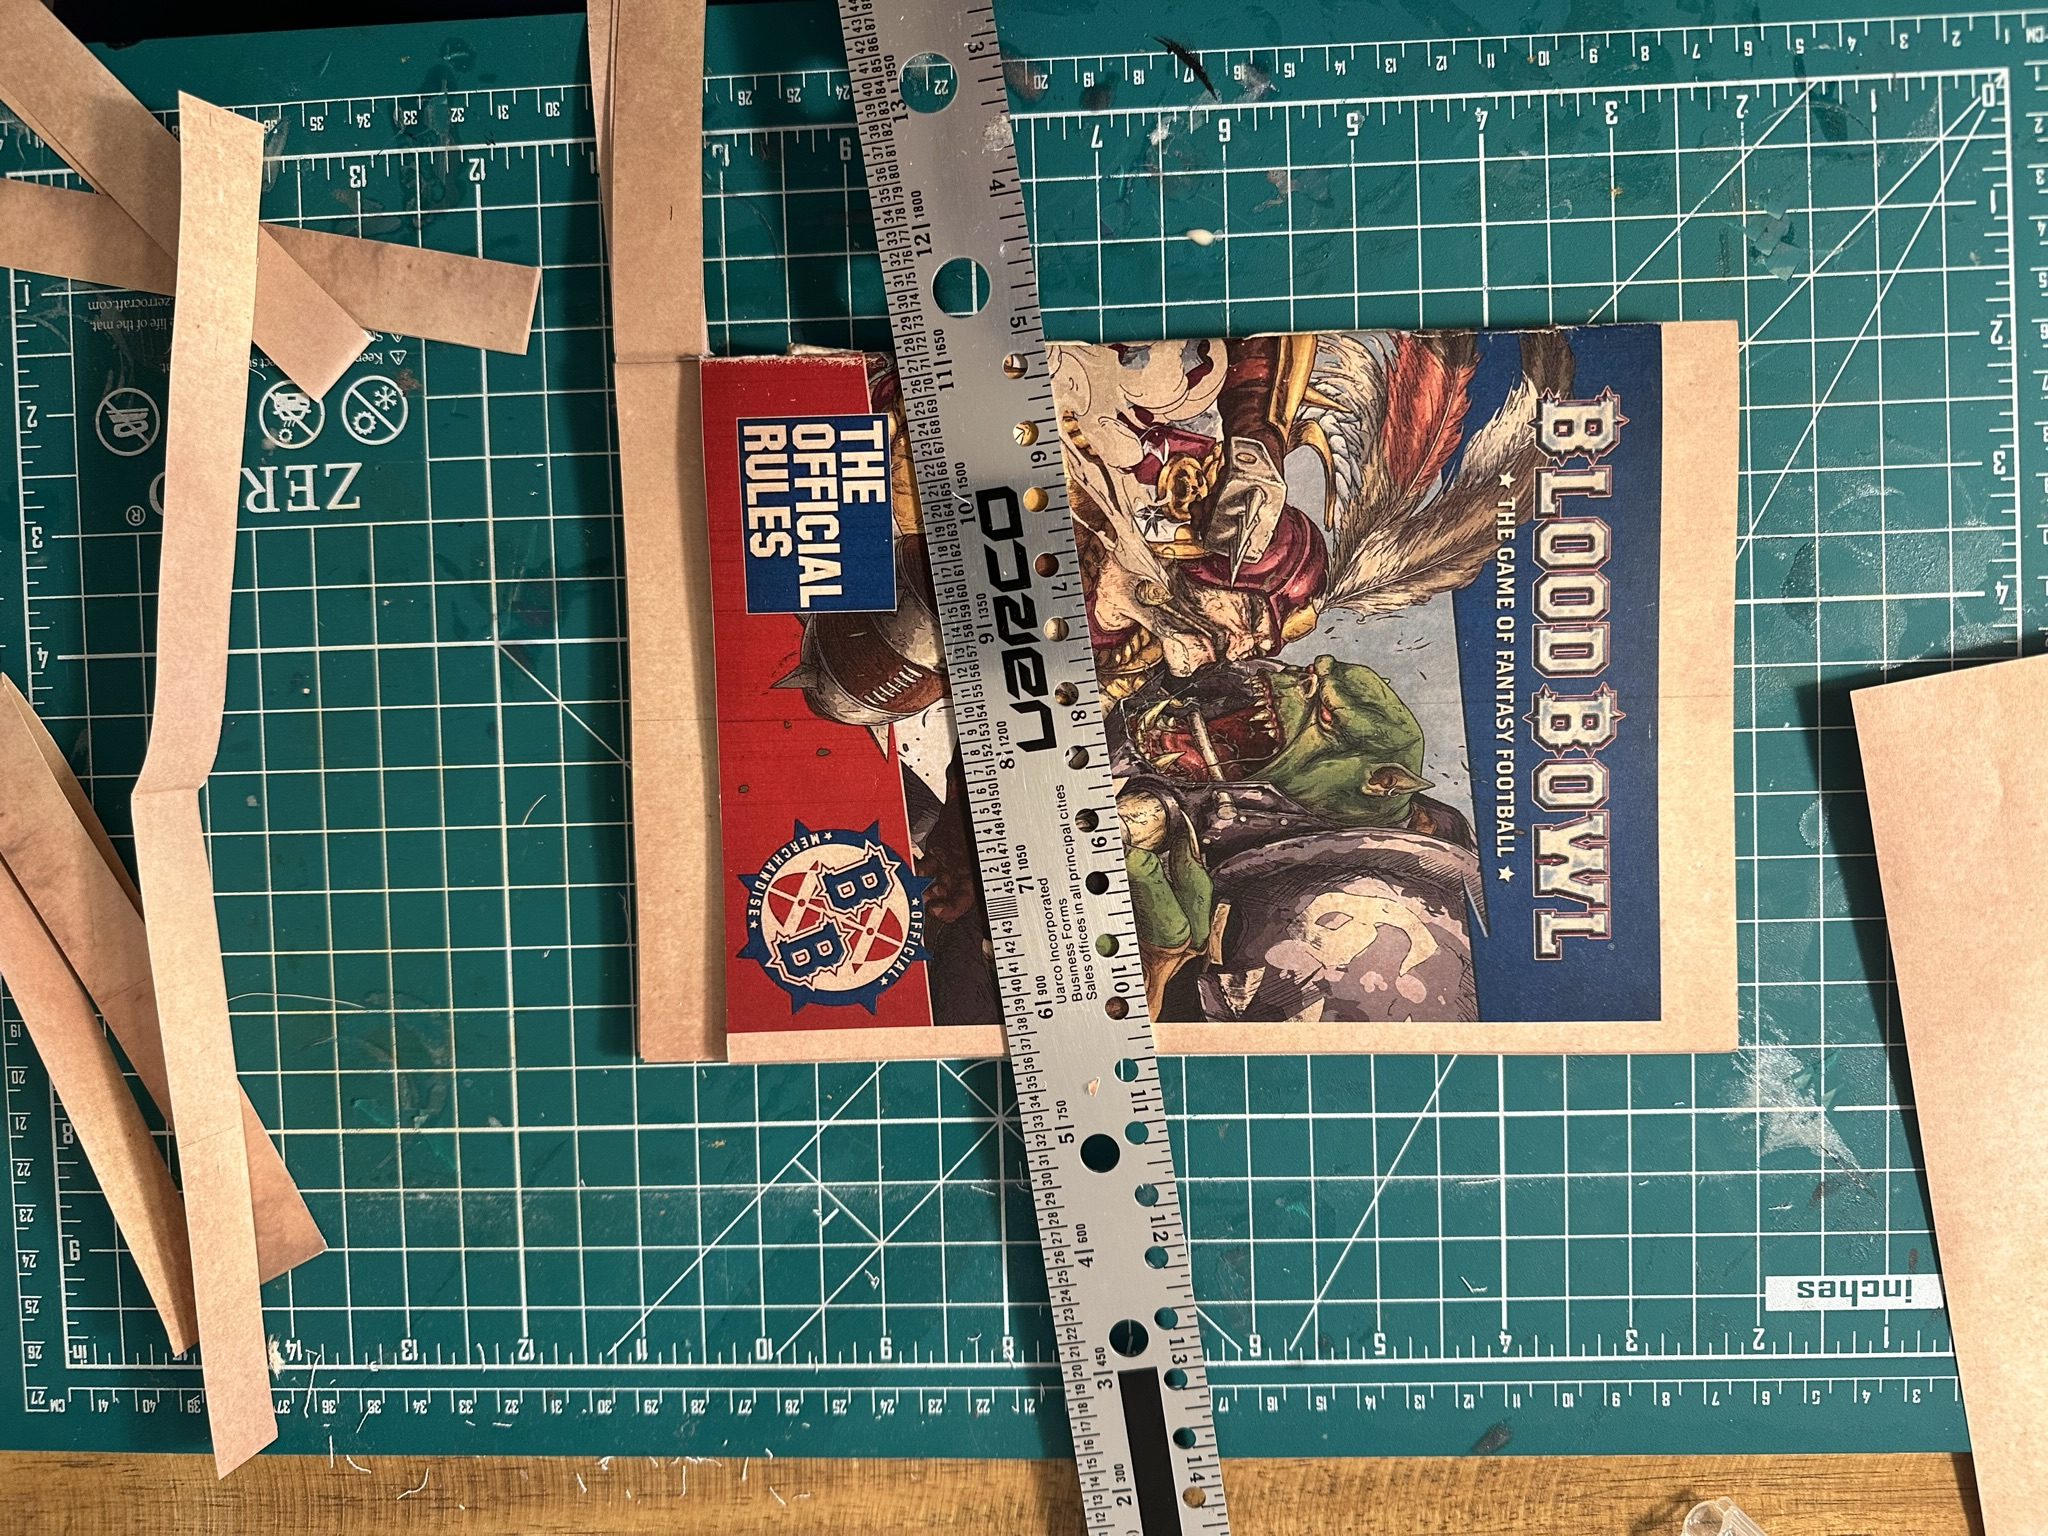
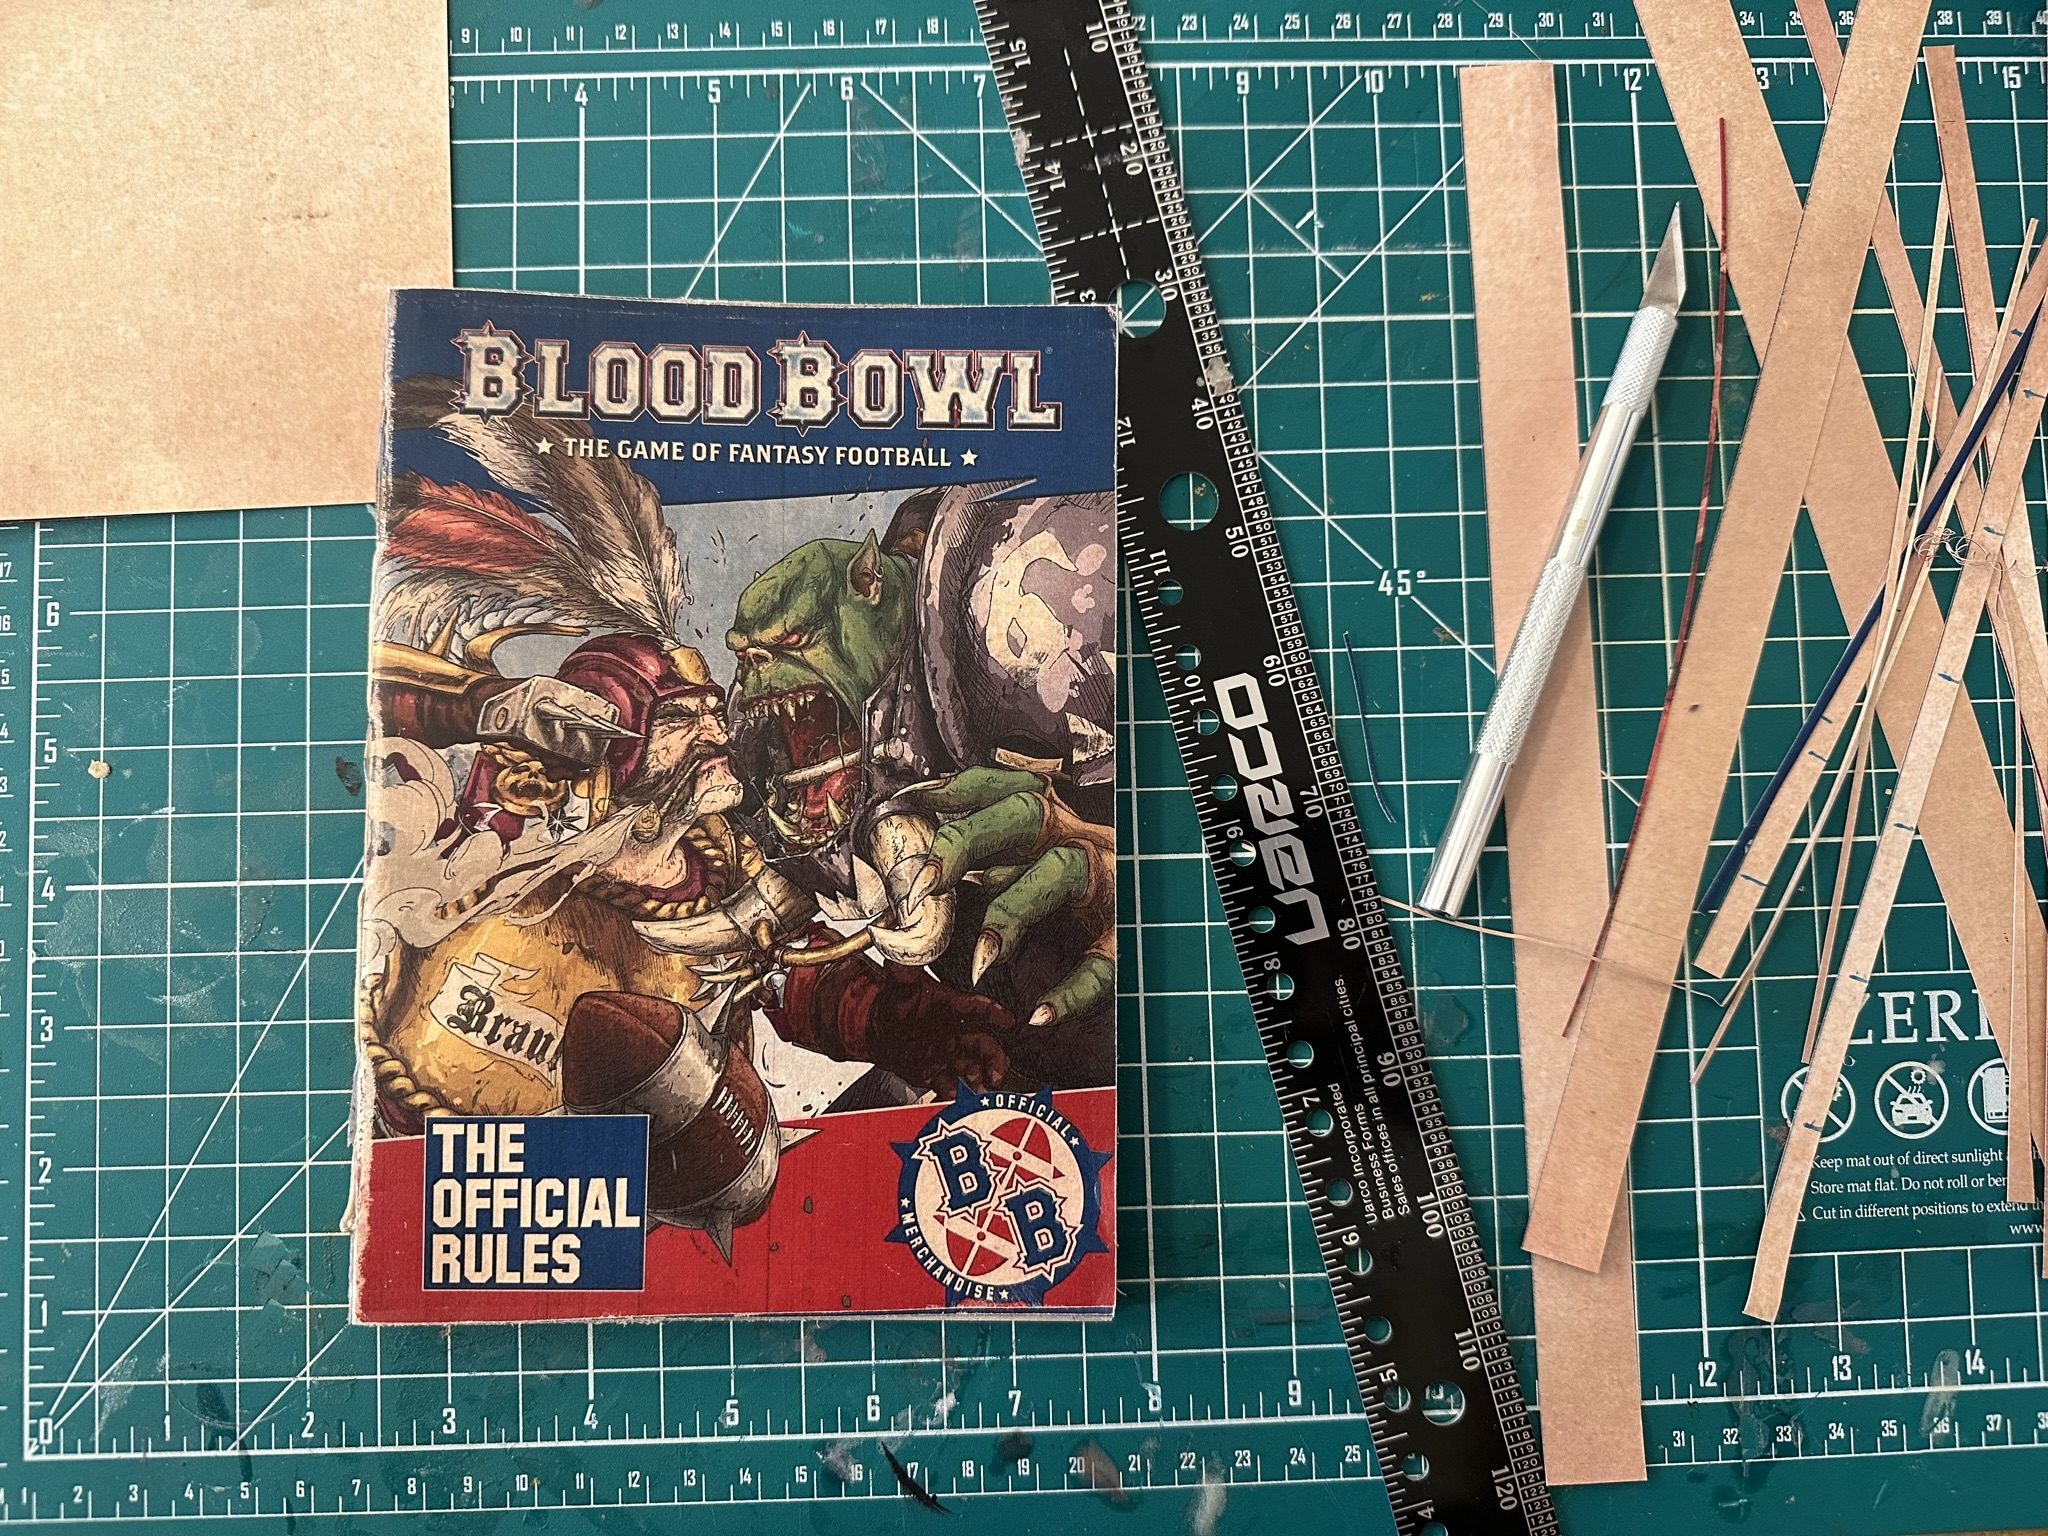
Trimming
As I mentioned before, I needed to trim off the margins from the sheets after printing. This process was annoying but straightforward. I took a pair of large binder clips and attached them to the top and bottom of the signature stacks, respectively, and then used an exacto knife with the aid of a ruler to trim down the book to size.
I thought about leaving the edge of the book in a deckled manner, as that does convey an aged look to any book, but for this project opted to trim the sheets flush.
Spine and Cover
I more or less forgot the document this stage in the process, as I was eager to see the completed product. I used a knife to cut the chipboard for the front and back of the book cover as well as the spine. I also cut out the muslin fabric to size and glued it to the chipboard.
I kept it simple with a bright blue painted finish, though in hindsight it looks rather sloppy! Oh well!
Reflection
Not bad for a first attempt – the end result is sturdy, functional, and not altogether non-aesthetic. Looking ahead, I expect that with a few more such projects under my belt, I can add bookbinding to my list of hobbies!